Sparkly Stamped Fairy Garden Jar Tutorial
Do you have a little one who loves fairies? Today I am sharing a magical fairy craft that can be played with and even used as a calm down jar. It is made with Lawn Fawn stamp and paper products as well as our Xyron® Sticker Makers. Join me below to get a tutorial for making a sparkly stamped fairy garden jar for your little one!

*This post contains referral links. We have also received compensation for this post. Please read our disclosure policy here.
As mentioned above, today we are showcasing Lawn Fawn and our sticker makers as a Xyron Design Team project. The stamp set I chose is Fairy Friends – aren’t they cute? There are three fairies, a flower house, flowers, stepping stones, wands and sentiments. Along with the stamp, I also am featuring the ‘Let’s Polka in the Meadow’ 6×6 inch petite paper pack.
Stamped Fairy Garden Jar Tutorial
Supplies Used:
- ‘Let’s Polka in the Meadow’ 6×6 inch petite paper pack

- Fairy Friends stamp set (and corresponding die set if you have a die cutter)
- Xyron® ‘X’ Sticker Maker (optional – disposable 3 inch sticker maker)
- empty jar
- glitter glue & glitter
- ink
- colored pencils and markers – Prismacolor
- watercolors and paper
- waterbrush – optional
- scissors
- X-Acto knife
- clear sealant – optional
- paintbrush
- optional: flower embellishments, tulle, craft gems, ribbon, etc.

 (and corresponding die set if you have a
  )
) (optional –
  )
) &
& 


 and
and 
 – optional
 – optional
 ,
,  ,
,  , ribbon, etc.
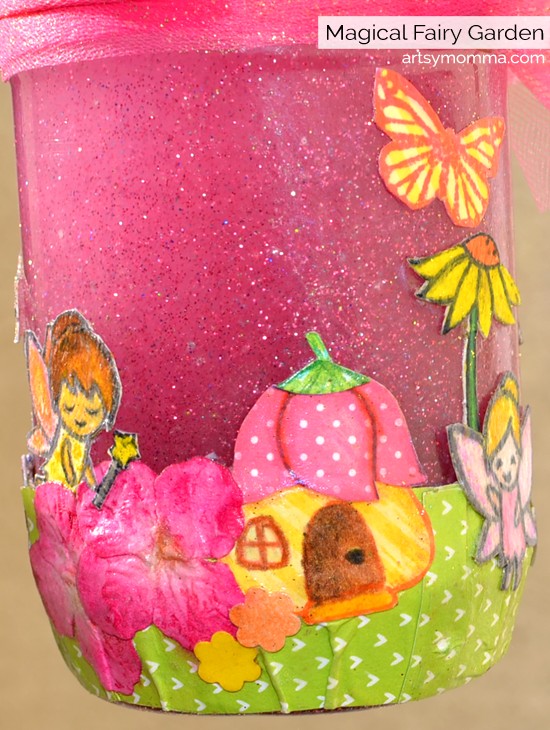
I decided to experiment with some new techniques for this project. Besides stamping and coloring in with the colored pencils, I also used a waterbrush. I placed a small drop of the skin tone watercolor inside along with water. Then I used this to paint the faces, arms and legs on the fairies.
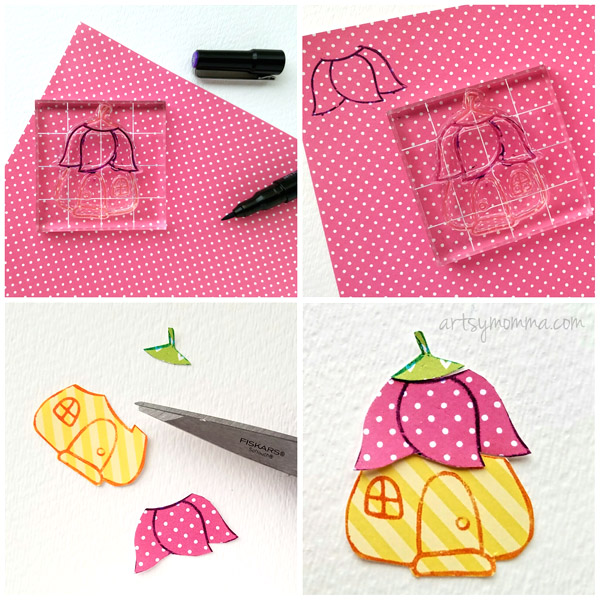
I also thought it would be cute to use the pretty paper pack for the stamps. Since the flower house stamp wasn’t too intricate I decided to give that a try. Recently, I saw that you can use markers on stamps. This was perfect because then I could just color in the section that I needed for each of the patterned papers. After coloring, just stamp like you normally would and then cut around them. To give it depth, I lightly shaded it and colored the door with the Prismacolor pencils.
Once that was finished, I sent them through our Xyron® 1.5″ sticker maker (I’m obsessed with it!). When you are ready to use them, just peel them off and stick them on your surface like a mini puzzle. I love how this ended up looking! I’m excited to try this out with other stamps and to also make more projects with cute little paper fairy houses.

To make the grass, I chose one of the green papers. Cut it down to about an inch high (give or take depending on your jar size) and then sent it through the sticker maker. Then I cut slits along one side so it looked like fringe.
Once everything was stamped and colored in, I cut everything out using a small scissors and an X-Acto knife for the harder to reach spots. I sent these through our sticker maker as well.
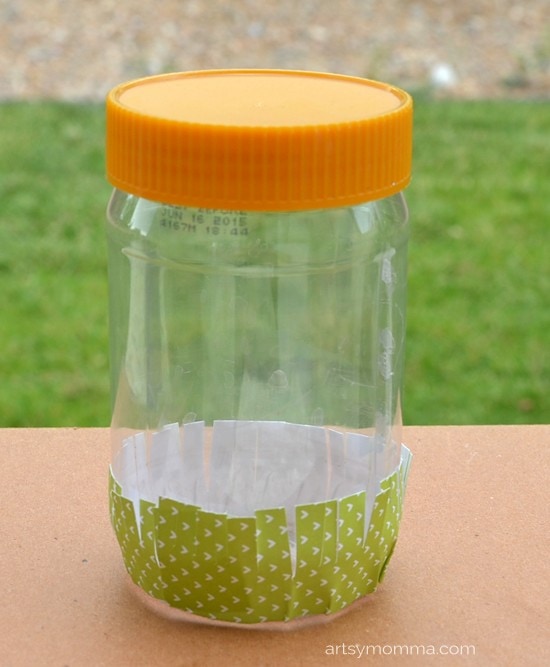
Next it was time to decorate the outside of the jar. Start by placing the grass along the bottom edge; pressing down firmly.
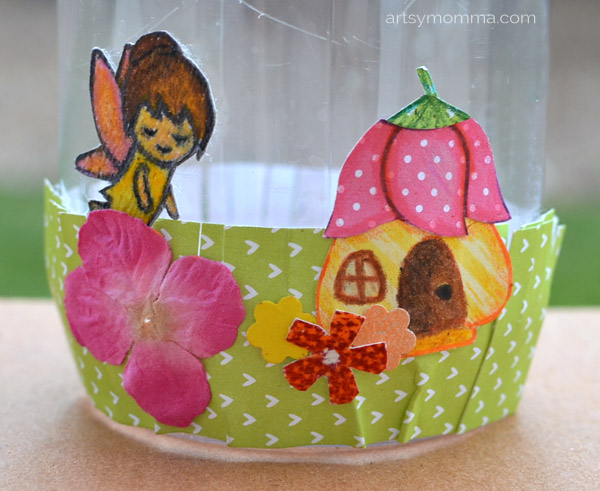
Arrange the fairies, flower houses, flowers and anything else you’d around the outside of the jar. Be sure to firmly press down all the edges. I also chose to put a clear sealant over the top of everything to help seal it in as well as make it a tiny bit waterproof.
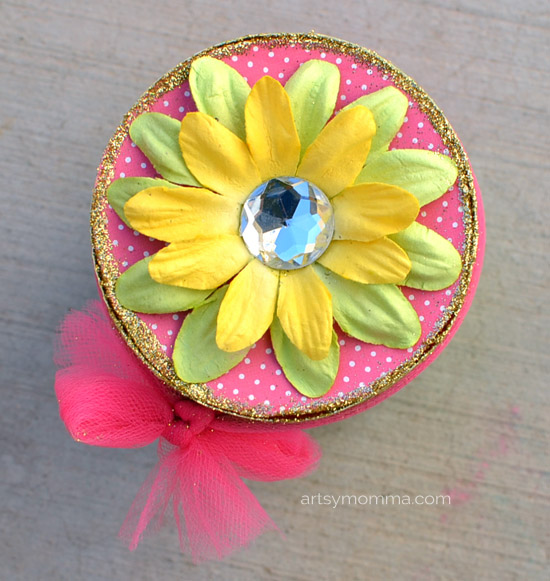
You may also wish to decorate the jar lid. You can do this however you’d like whether it’s using ribbon, flowers, craft gems, patterned scrapbook paper, glitter – anything really. For my daughter’s, I placed a strip of the green paper used on the grass and a pink one to make the circle at the top. Pink tulle is wrapped around that and tied with a bow. Where the two paper smet, I added glue and sprinkled fine glitter over it.
Now comes the fun part…. more glitter! For this you’ll need warm water, glitter glue or use clear glue (Elmer’s makes this kind). You can also add loose glitter. We used both the regular kids glitter and fine glitter as well as a variety of colors. Screw the lid back on.
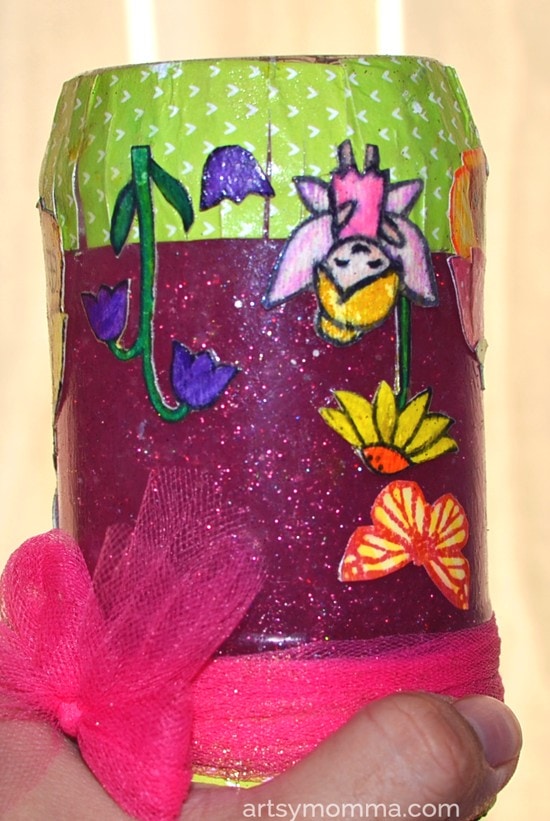
Then flip the jar over a few times to mix it well or lightly shake it. Check out our outer space discovery bottle for a blue color variation. You can use any color combination you’d like and even add in a drop or two of food coloring.
So sparkly right? Watching the glitter settle back at the bottom is calming making it a great alternative to time outs or just because it relaxing to watch. If you are happy with how it looks, it’s best to hot glue the lid in place. That way it doesn’t get opened and make a big glittery mess everywhere.
For another fun project like this stamped fairy garden jar, check out this DIY zoo playdough set – also made with stamps!