Kids New Year’s Eve Noisemaker Craft
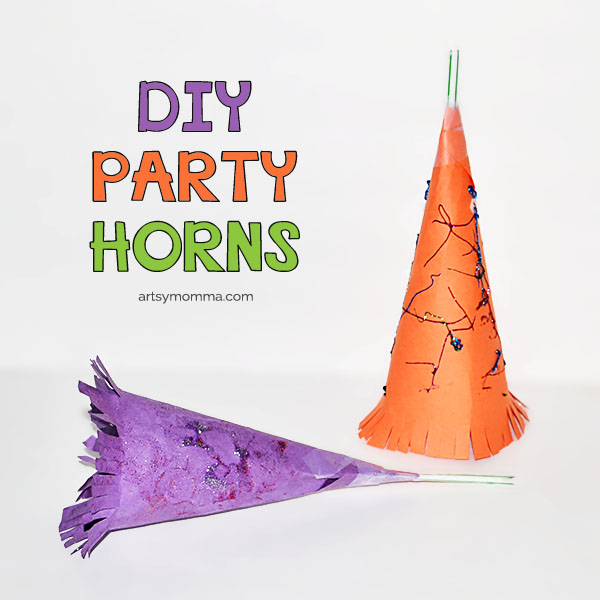
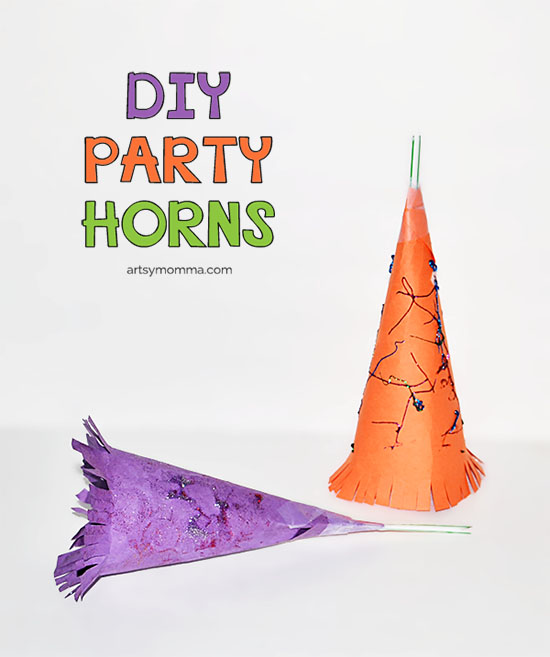
Celebrate New Year’s Eve with kids by making these simple paper party horns! Made with just a straw and construction paper, this New Year’s Eve noisemaker craft is sure to be a hit with younger children.
*Originally published December 2013 and updated December 2016 and 2025.
I still can’t believe it’s almost New Year’s already – this year just flew by! Every year, I like to do kid-friendly crafts with my kids and our playgroup. Last year we even had a Countdown to Noon Year’s Party with our friends. We want to do that again this year, so I have been busy searching for fun ideas that are kid-friendly and easy to make. I showed my son several ideas, and of course he chose a bunch of noisemaker crafts. Read on to see how to make the New Year’s Eve noisemaker craft!
From his picks, I asked him if he wanted to make a party horn first. I liked that it seemed simple enough to make and would appeal to both my preschooler & toddler. The party horn is perfect for family-friendly New Year’s parties, as a playgroup/playdate craft, or even as a school craft in honor of the New Year. We will be using ours for our celebration at home and quite possibly as an idea for our ‘Noon’ Year’s party since it was such a big hit with my kids.
How to make the New Year’s Eve Noisemaker Craft
*As an Amazon Associate, I earn from qualifying purchases,
Supplies Needed:
- Construction Paper

- Child Safe Scissors
- Straw
- Tape


Other optional ideas for decorating the finished noisemakers: Glitter Glue, Markers, Happy New Year’s Stickers, Jewel/Gem Stickers, and Sequins.

Time Needed:
10-20 minutes plus drying time if using paint, glitter glue, etc.
Prep:
If you plan to do this with a larger group of kids, have the straws precut like in the instructions below. If the kids are toddler-aged, you may even want to just go ahead and make the entire horn beforehand and just let the kids decorate them.
Instructions:
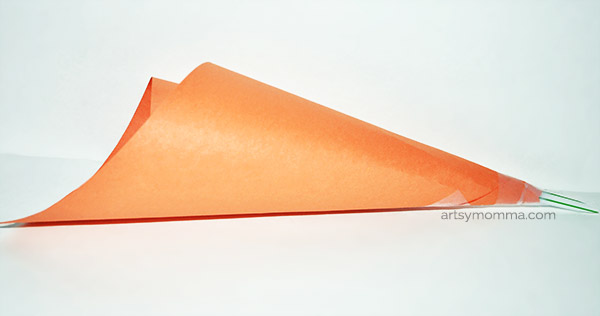
Choose a straw. If it has a bend in it like in the photo where the scissors is pointing to, cut that part off.
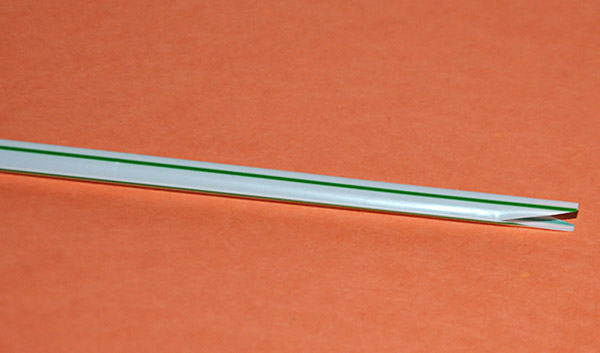
Flatten the straw completely by rubbing it with your finger. Then take one end and squeeze the flat part together. Cut the sides off on an angle (2 snips) so that it resembles an arrow.
Next, place the straw on top of the construction paper and start to roll a cone-shape around it. You will want your straw to be about three-fourths of the way in.
Place tape around where the construction paper and straw meet. You may have to tape the edge of the construction paper to itself. Ever so slightly flatten the open end of the cone. Cut a straight edge.
To make it look more festive, cut small slits all the way around the open edge of the cone. It should look sort of like fringe. Finish by bending the fringe/slits outward.
Now the party horn noisemakers are ready to be decorated! There are many different ways they can be embellished. I wanted ours to look sparkly and fun so opted for giving the kids glitter glue pens. The possibilities for embellishments are endless: glitter, paint, sequins, markers, stickers, ribbon, and so on. Another idea is to write, “Happy New Year!” and the year.
DIY Paper Party Horn Tips:
The pointed slit/flattened straw vibrate when you blow into the straw causing your noisemaker to make a horn-like sound. It takes a little bit of practice especially in younger kids to get it to work every time, but once they get it figured out they should have a blast running around blowing their party horns!
One tip I gave my 5 year old is to quickly re-flatten the straw (just the part that is sticking out) before he wants to blow into it. So far it has worked every time he did that. I also had to explain to him to just blow into it because he was trying to create the sound himself while blowing…. he, he! Little Sister is almost 2 and needs a lot of help trying to make sound come out, but she has so much fun trying and loved decorating hers with the glitter.
More New Year’s Crafts for Kids
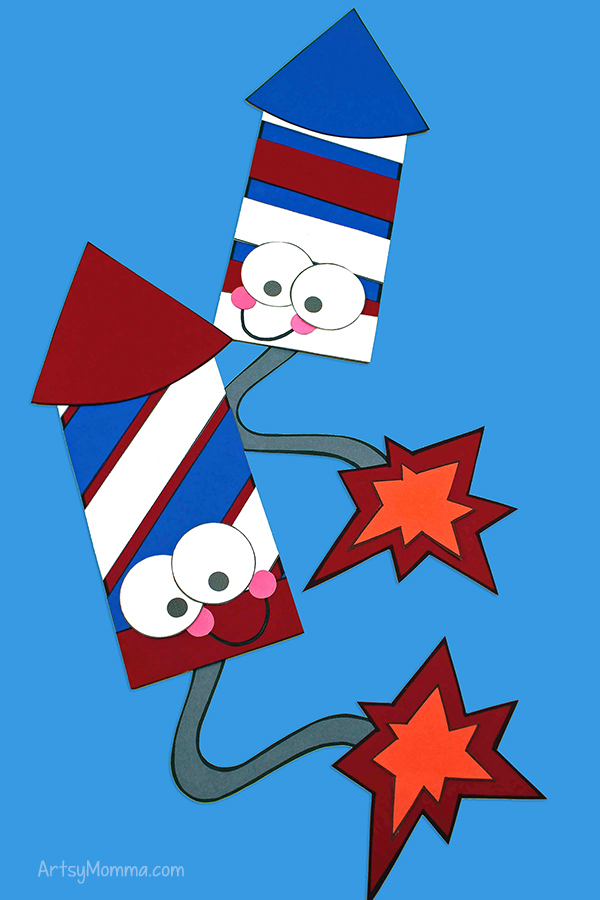
For another easy craft idea, these printable paper fireworks come in 4 colored designs plus a black and white design-your-own version.
Check out these fun paper sparkler crafts that are perfect for celebrating New Year’s Eve with younger children!