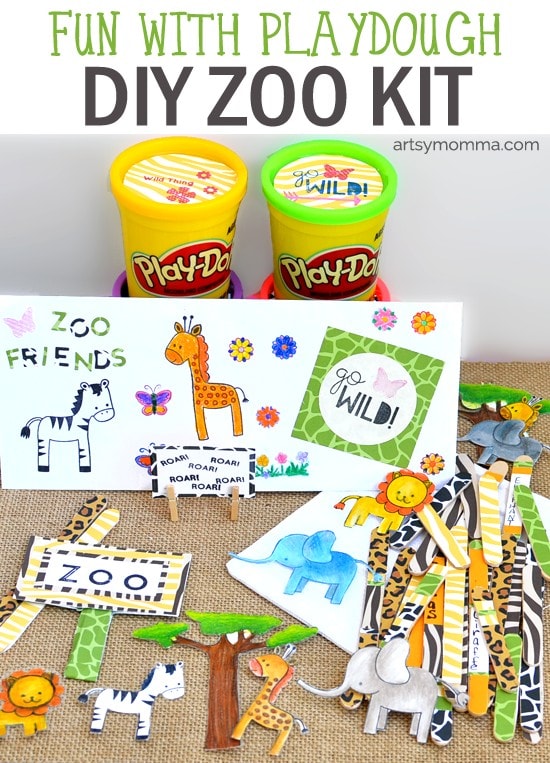
DIY Zoo Playdough Kit – Tutorial
Are you a stamper and wondering what other cute things you can use your stamps for? Or perhaps you’re someone who is always looking for something crafty to do. How about making your own custom playdough kit for the kids to play with or to give as a gift?! We used the MSTN Wild Things clear stamp set from My Favorite Things* along with their Wild Prints Paper Pack to create a fun DIY Zoo Playdough Kit.
*This post contains referral links to the products mentioned. Please read our full disclosure policy here. We are also part of the Xyron Design Team and have been compensated for this post. All opinions are my own thoughts about the products used.
How to Make a Custom DIY Zoo Playdough Kit
Supplies:
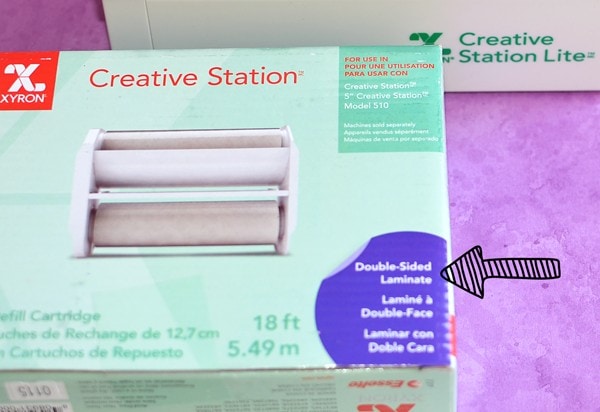
- Xyron® Creative Station Lite
 ™
™ - 5in CS Two Sided Lam Refill
- 5in Permanent Adhesive Cartridge
- Wild Prints Paper Pack
- MSTN Wild Things
- Die-namics LLD Bottlecap Letters
- Die Cutter (We used our Diamond Press)
- Scissors and/or Craft Knife
- Stamp block
- Black Ink
- Watercolors and/or Colored Pencils
- Craft Sticks – We used both regular-sized and mini ones.
- White Cardstock (or watercolor paper)
- Play-Doh
- Envelope
 ™
™
 )
)


 and/or
 – We used both regular-sized and
  .
. (or watercolor paper)
Not only was my 5 year old able to color her own animals, she could laminate them herself using the Xyron* Creative Station Lite! This playdough kit works for a safari theme too. With so many stamps available nowadays, there are endless possibilities of custom kits you could make. A few others from My Favorite Things that would be cute for this project are the MSTN Cute Critters, MSTN Bionic Bots and BB The Whole Herd.
How to Make the Laminated Zoo Animals:
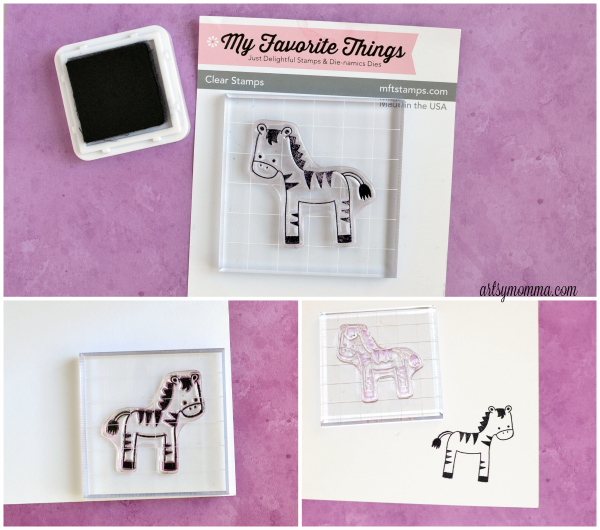
Use white cardstock or watercolor paper to make stamped prints on. We used all of the animal stamps, the tree, and the phrases “Roar” and “Go Wild.” Place a clear stamp on to the stamp block and dab on black ink. Make prints all over the white paper. Let them dry before coloring them.
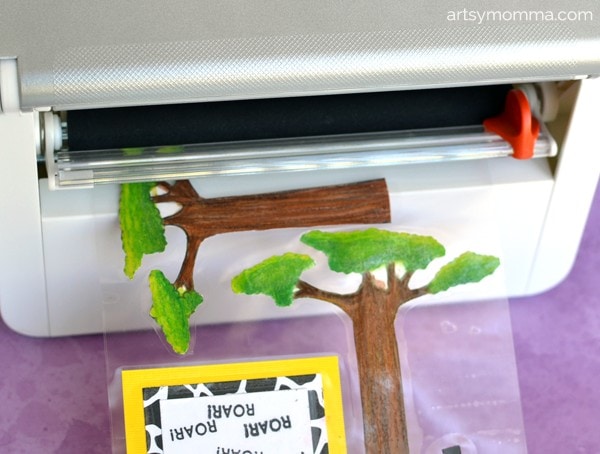
Once dry you can color them with markers, colored pencils, watercolors or even ink. I did a watercolor-colored pencil combo and Little Sister used markers and a wet paintbrush. After letting them dry, I put them through the Creative Station Lite with the Two Sided Laminate Cartridge. I love it because you don’t have to wait for it to heat up! It also doesn’t need to be plugged in. Then just cut around the animals and trees.
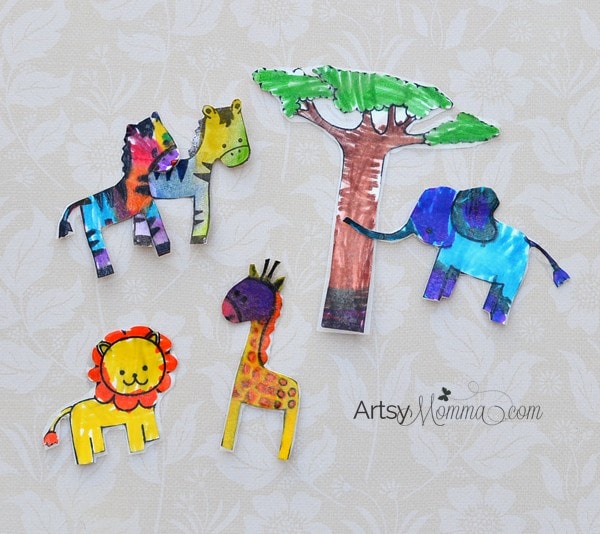
Now you have mini toys that easily stick in playdough and handmade by you!
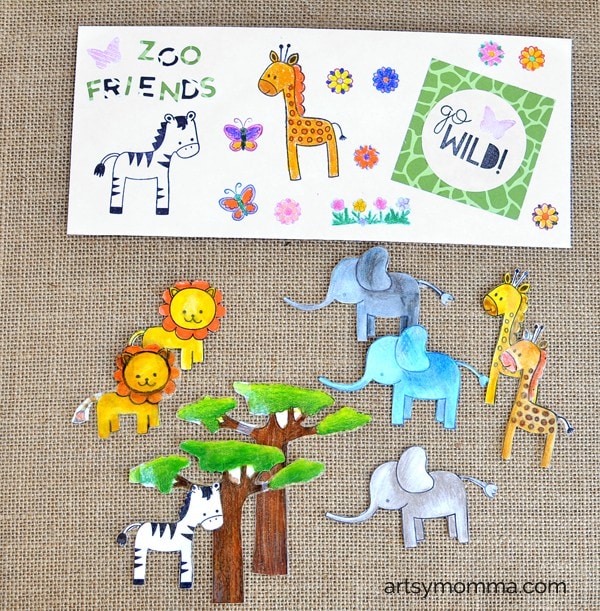
Decorative Zoo Friends Envelope:
This is a great way to store all the stamped pieces. We used the Uppercase Bottlecap Letter Die-namics to create letter stickers with the animal print paper. First, I cut the papers to the size of the plastic die folder. Then I ran them through the Creative Station to make a them become stickers. Place this paper into the plastic folder with the die letters and run it through your die cutter. I used these sticker letters to add the phrase, “Zoo Friends” on the envelope. The rest is embellished with more paper and stamps.
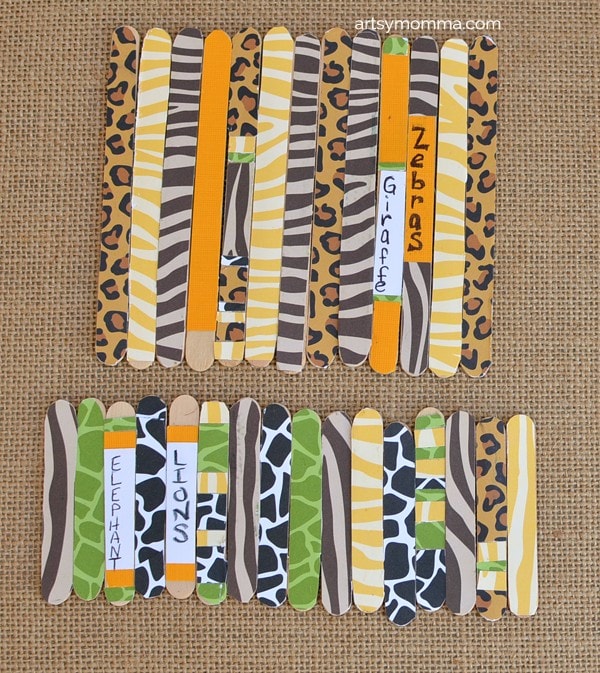
How to Make the Animal Print Craft Sticks:
We chose five different papers from the Wild Prints Paper Pack. Send these through the Creative Station Lite with a permanent adhesive cartridge inside it. Now that they are stickers, you can easily stick them onto the wood craft sticks. Use either a scissors or a craft knife to cut the paper around the craft sticks. That’s it! I labeled lions, elephants, giraffes and zebras to four of the sticks.
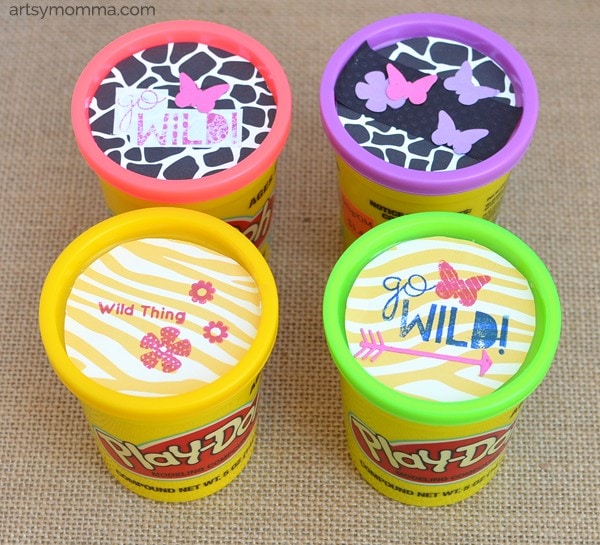
How to Make the Zoo Themed Playdough
Decorate the lids with the patterned paper that you put through the Creative Station. Trace the lid and cut just inside the outline. Place on the top of the lid and embellish with stamps, die cuts, etc. These decorated playdough containers would also be fun as a Zoo-themed party favor!
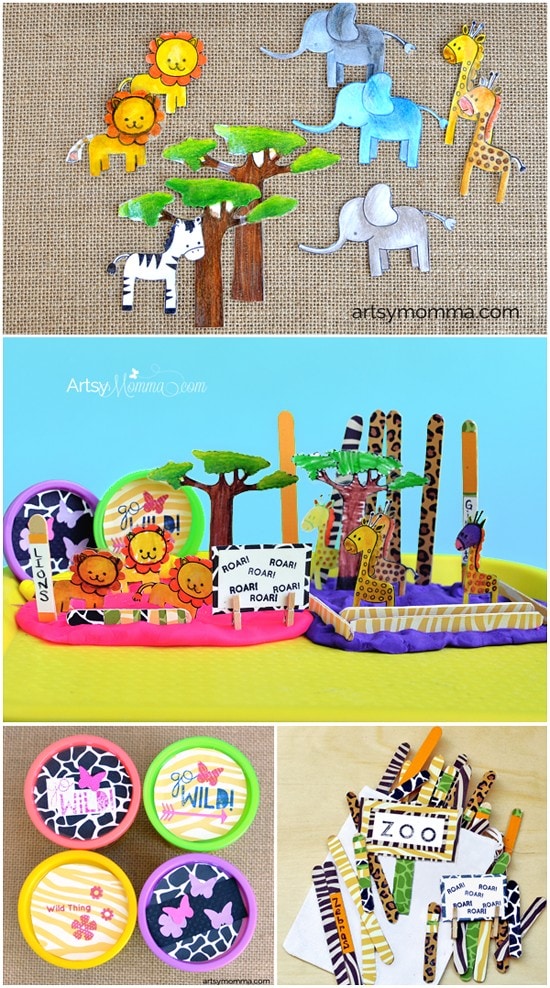
Let the kids have fun making their own zoo using their DIY Zoo Playdough Kit! You can even use the Play-doh lids and other mini animal toys you have on hand.
Oh this looks so fun
and a great way to use
the stamps and colors.
Carla from Utah
Thank you 🙂
Cute idea, to laminate stamps and create a zoo to use with play dough!
Thanks! We can’t wait to make more themes!