Festive Recycled Jar Lid Ornaments for Christmas
Does your family have an ornament crafting tradition? Or perhaps you get together with a group of friends for a holiday craft night? Today’s post is perfect for either of these and adaptable for all age groups. You will find some fun ideas for making recycled jar lid ornaments, and the possibilities are endless!
*We receive products and compensation as part of being on the Xyron design team. We also use Amazon affiliate links. For more info, please read our full disclosure policy here.
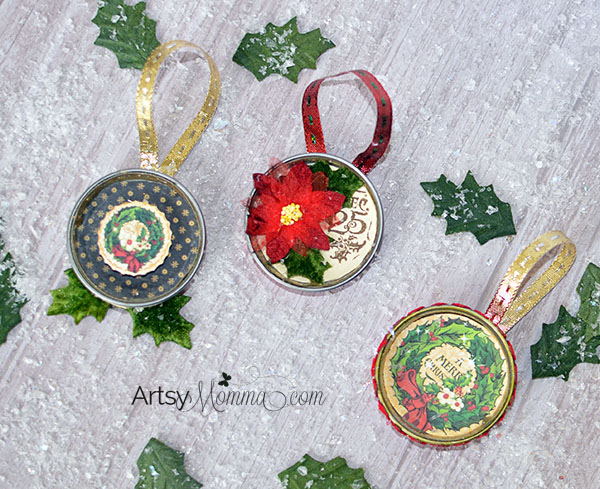
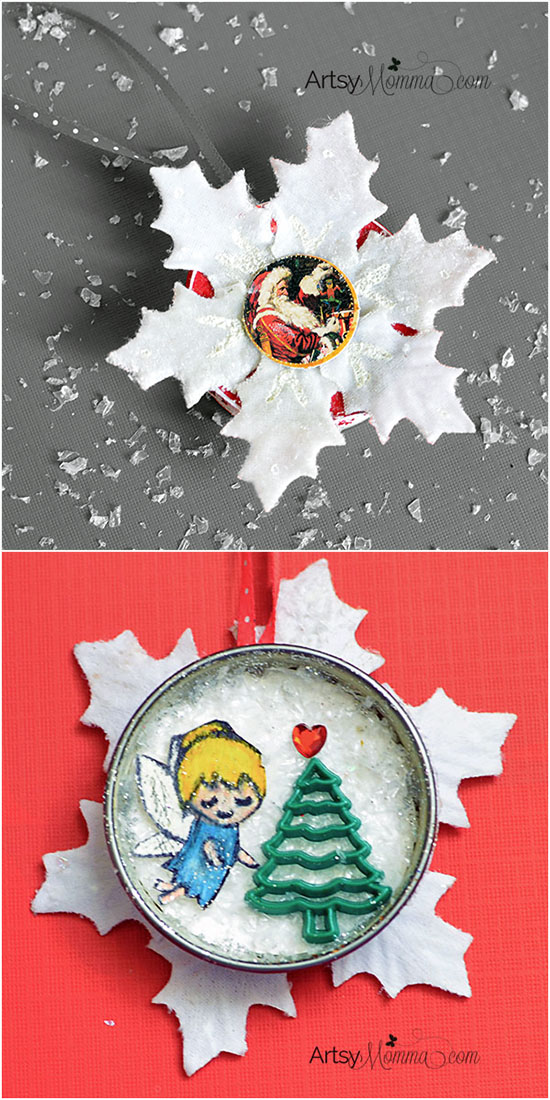
Recycled Baby Food Jar Lid Ornaments
Basic Supplies:
- Lids (i.e. plastic, tin, mason jar)
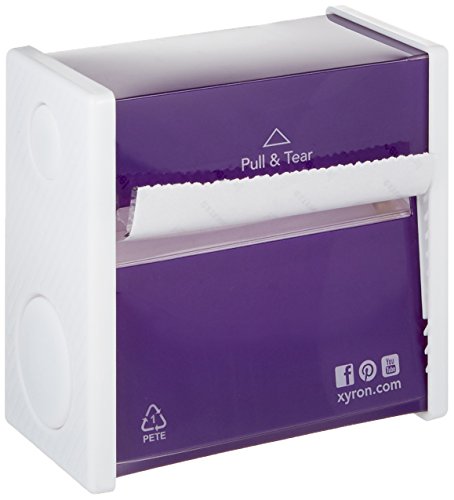
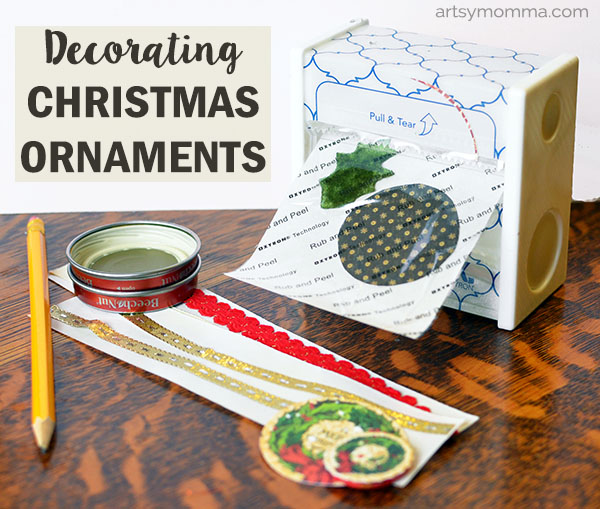
- Xyron 3” Sticker Maker

- Xyron Tape Runner
- Scissors


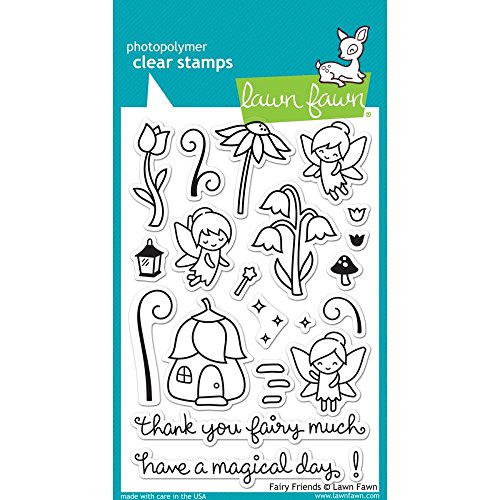
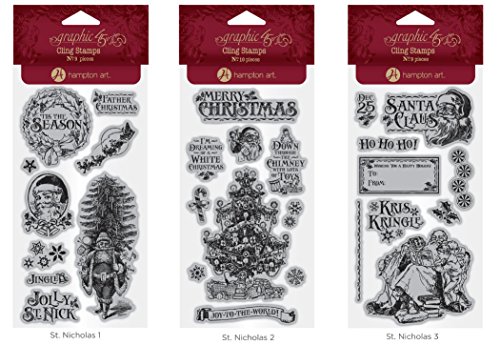
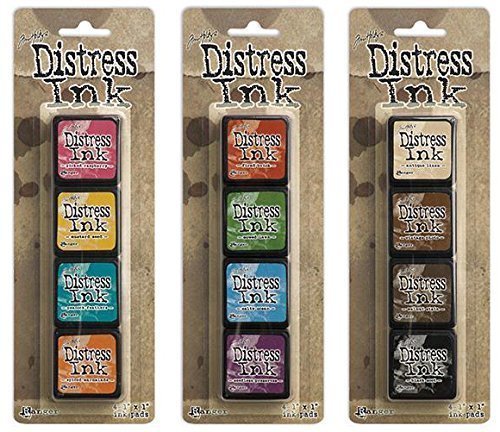
Lawn Fawn Clear Stamp – Fairy Friends (LF1057) Graphic 45 St Nicholas – Collection of 3 Cling Rubber Stamp Sets – Christmas HolidayRanger Tim Holtz Distress Mini Ink Pad Kits #1, #2 and #3 BundleXyron Disposable/Recyclable Sticker Maker, 3-InchXyron refill for 3301-12-32 Tape Runner, Forty Feet Permanent Adhesive

Embellishment Ideas:
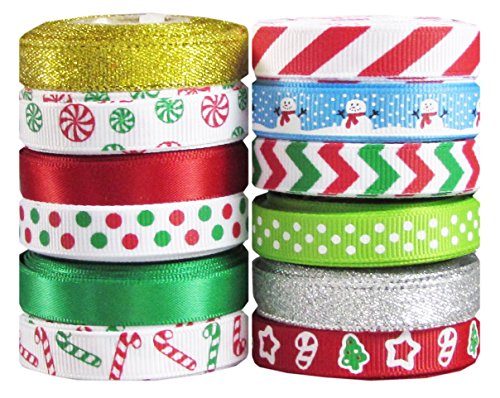
- Ribbon, Cord
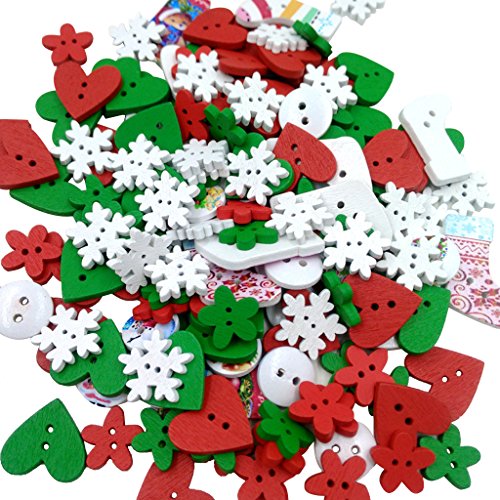
- Buttons, Sequins, Gems
- Small Christmas Trinkets
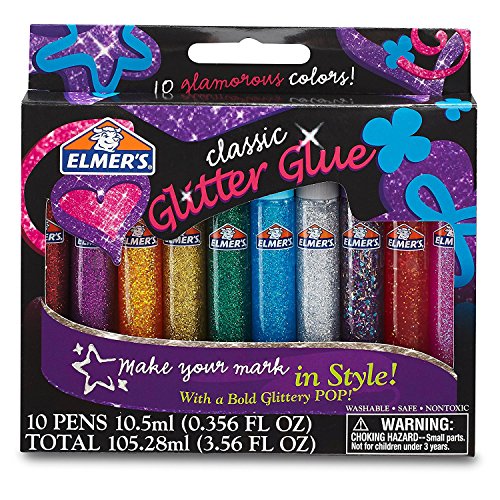
- Glitter, Glitter Glue
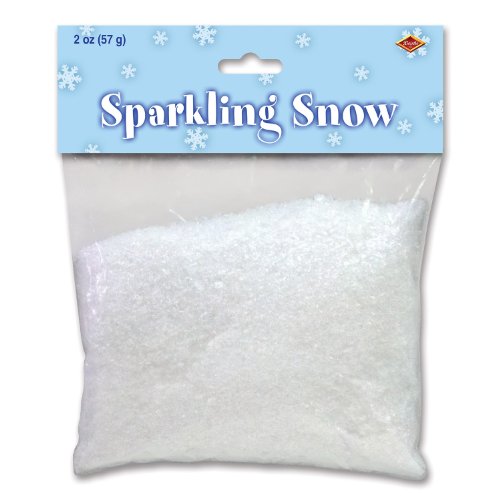
- Fake Snow
- Cardstock, Patterned Paper, Tissue Paper
- Items found in Scrapbooking Aisle such as stickers, die-cuts
 , Patterned Paper, Tissue Paper
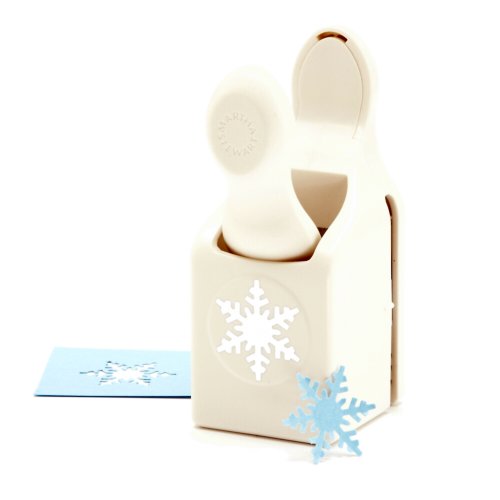
Martha Stewart Crafts Punch, Alpine SnowflakeBeistle Sparkling Snow, 2-OunceMagiDeal Mixed Color Wooden Buttons Sewing Button Kid’s Scrapbooking DIY Craft Wedding Decoration – Christmas, Mixed SizeHipgirl 60 Yard 3/8Elmer’s Washable Glitter Glue, Classic Rainbow,(E199) (4-Pack of 10)
How to make the ornaments:
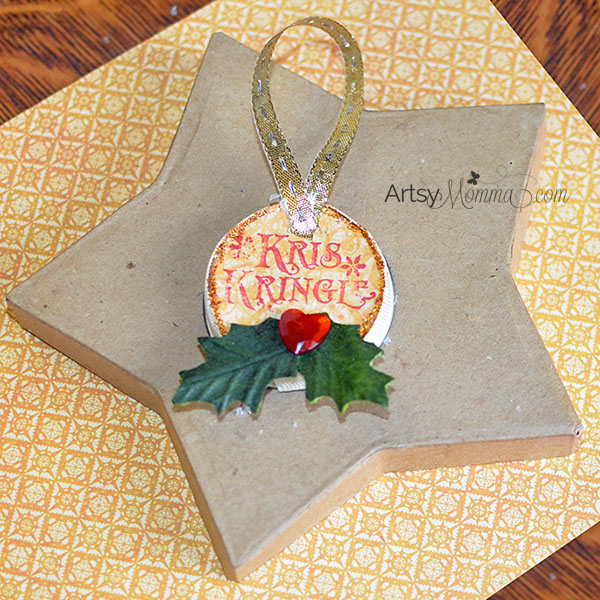
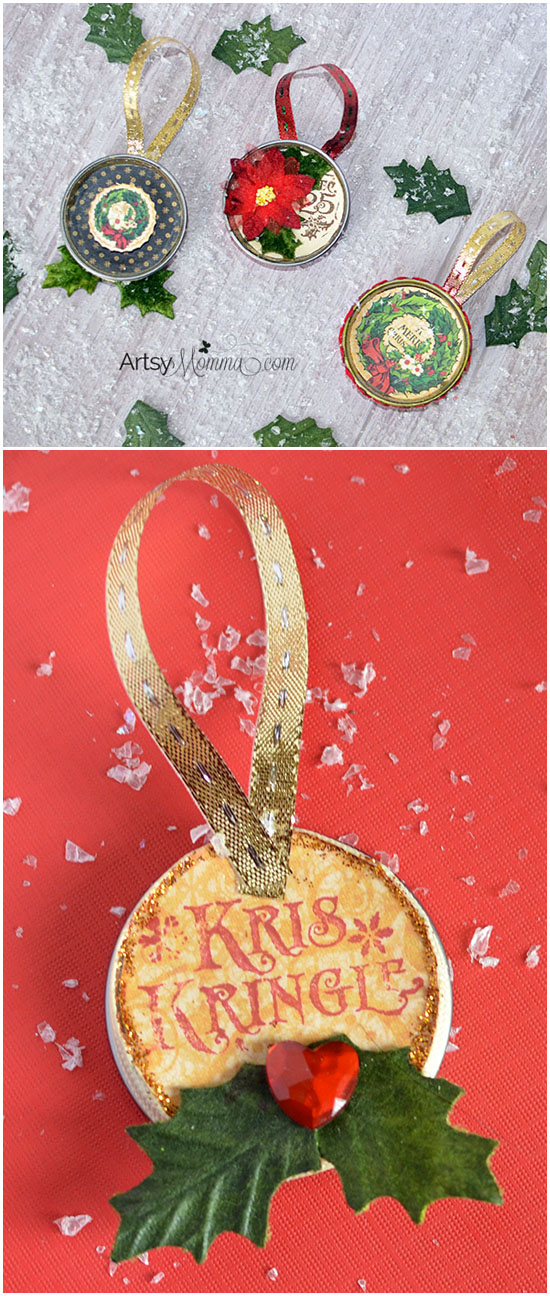
Trace the baby food jar lids onto cardstock and patterned papers. Cut these out. You will need one for the front and one for the back of each lid. Place these through the Xyron 3” Sticker Maker. Peel off and stick on the lids.
Wrap ribbon around the edge of the lid. Cut pieces equal to this size. Place inside the sticker maker. Peel off and press onto the outer edge of the lid. Do the same for the inner rim. You may also wish to use glitter in place of ribbon like shown on the fairy ornament.
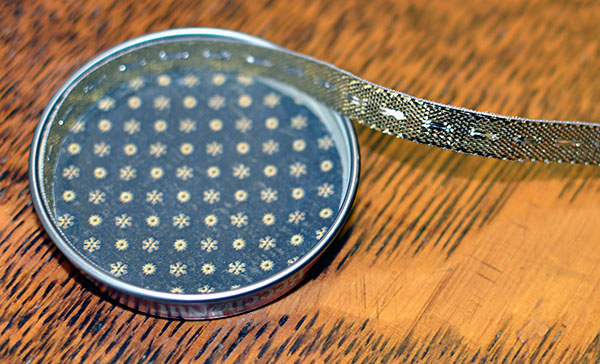
Decorate the ornaments with whatever you’d like. I placed the different embellishments in the Sticker Maker (even the buttons!) and for some or the items, I used the Xyron® Tape Runner.

To create the snowy areas, I used the tape runner to make it sticky and then sprinkled on fake snow. Doing it this way is not only cleaner than using regular glue, but also allows the snow to lay flat – making it perfect for layering embellishments over it.

Once finished, add a piece of ribbon to hang it with. I covered the edges with things like buttons and heart gems to give it a more finished look.
Graphic 45 4501409 St Nicholas 6 x 6Graphic 45 4501414 St Nicholas Die-Cut Cardstock BannersDress It Up 2951 Red Poinsettias EmbellishmentDCWV Double Sided Cardstock Stack, Textured, 58 Sheets, 12 x 12 inches
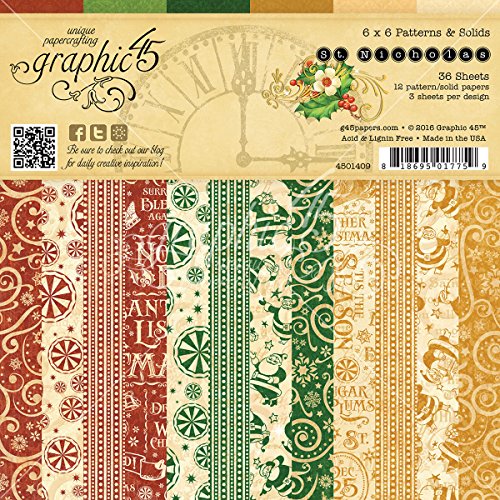
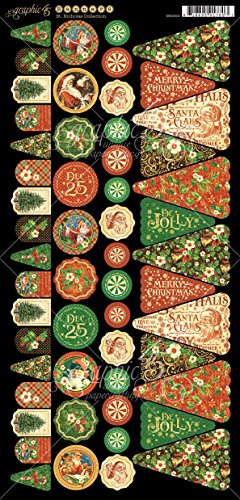
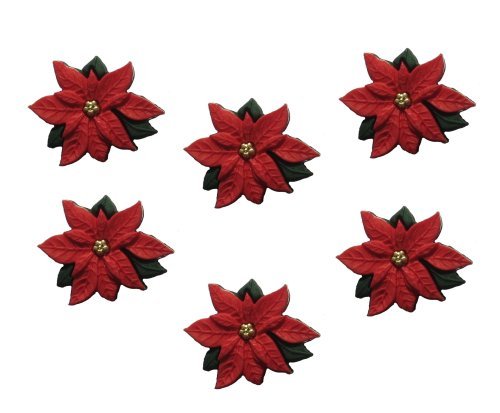

Most of the papers and die-cuts are from Graphic 45. The holly leaves and poinsettia are from Petaloo International. The fairy stamp is from Lawn Fawn and is called” ‘Fairy Friends’ stamp set.
Now they’re ready to hang on the tree or give as a handmade gift!
The Xyron® Sticker Maker is even great for preschoolers to help use (with supervision). My kindergartner loves turning things into stickers! It’s also fun for tweens and teens to use. So grab those lids and host a family ornament making day or invite the friends over for ornament night!
Find more holiday activities like these recycled jar lid ornaments on the Xyron Facebook page!