DIY Glitter Pumpkins: A Fun No-Carve Pumpkin Decorating Idea
Looking for a fun and easy way to decorate pumpkins for Halloween? These DIY glitter pumpkins are colorful, sparkly, and so much fun to make with kids!
*This glitter pumpkins post originally published 10/26/18, updated 10/21/2026.
Every Halloween, we love trying different pumpkin decorating ideas. From simple painted pumpkins to cute character pumpkins, it’s always fun to figure out the next design.
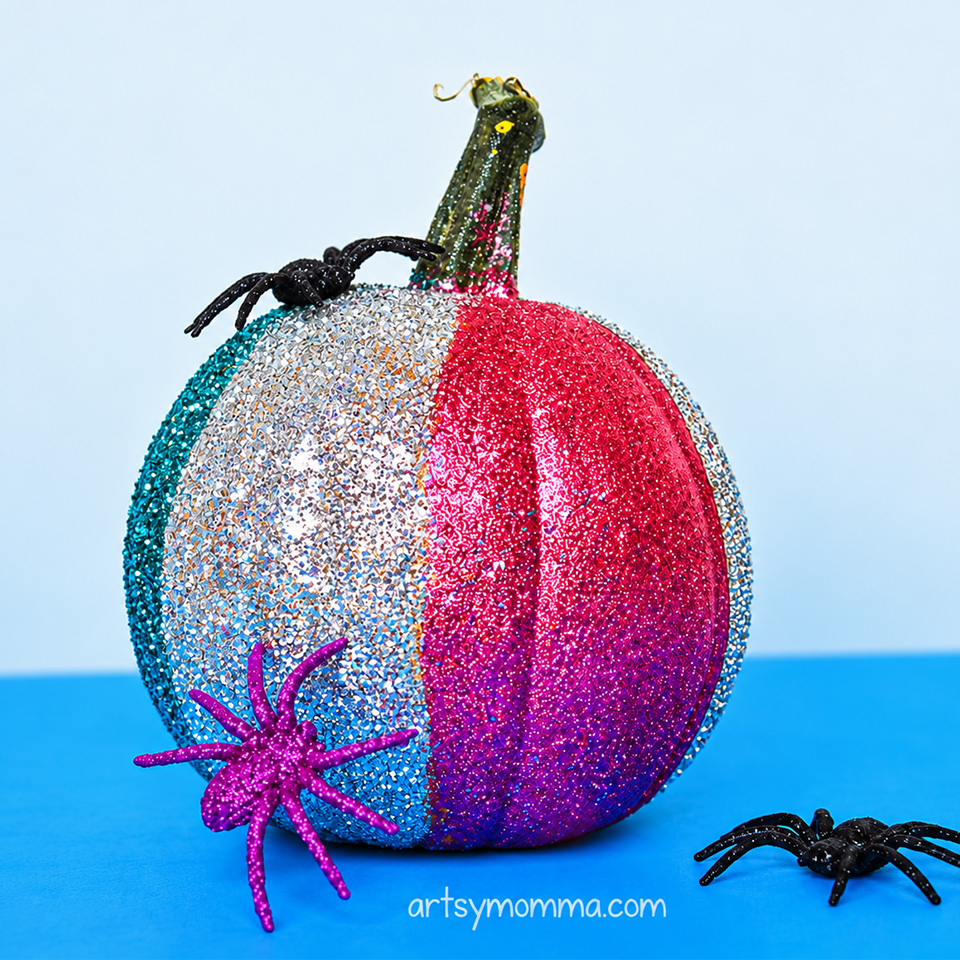
One year, I decided to try making glitter pumpkins with my daughter since she loves all things sparkly. She jumps at any chance to use glitter shakers, so I knew this Halloween craft would be a hit! We used several glitter colors to create a colorful pumpkin and added some glittery spiders for an extra Halloween touch. The best part? This is a no-carve pumpkin decorating idea that’s easy enough for kids to help make!
Supplies Needed to Make DIY Glitter Pumpkins
*As an Amazon Associate, I earn from qualifying purchases.
You only need a few basic craft supplies to make your own sparkly Halloween pumpkin.
- Pumpkin (real or artificial)
- Kids’ glitter or fine craft glitter in several colors
- White craft glue or Mod Podge
- Paintbrush or foam brush
- Marker
- Sheet of paper, baking sheet, or craft tray
- Clear Sealer Spray
- Funnel (optional, for saving extra glitter)
- Glitter spiders (optional, we got ours at Dollar Tree)
Craft Tip: Choose two to four glitter colors that look pretty together. We used pink, silver, and turquoise for our pumpkin, but you can mix and match your favorite colors or do traditional Halloween colors (green, orange, black, and purple).

DIY Glitter Pumpkins Step By Step Tutorial
Making glitter pumpkins is surprisingly simple! It’s also a fun Halloween activity for kids who enjoy painting, decorating, and getting a little messy. If you aren’t a fan of glitter getting everywhere (haha, you know what I mean!), this might be a good craft to take outside. Before starting, cover your work surface with paper or use a baking sheet or craft tray to catch any loose glitter.
Step 1: Divide the Pumpkin into Sections
Start by using an orange or light colored marker to divide your pumpkin into different sections. You can make wide vertical stripes like we did or create your own fun design. Each section will be covered with a different color of glitter.
Step 2: Paint on the Glue
Using a paintbrush, spread craft glue over one section of the pumpkin. Try to cover the entire area evenly.
Mom Tip: Painting glue onto the pumpkin is a great way for preschoolers to practice their fine motor skills and prewriting movements!
Step 3: Sprinkle on the Glitter
Now comes the fun part! Choose your first glitter color and shake it over the section covered in glue. My daughter especially loved this step. There’s just something about sprinkling glitter with shakers that makes it extra exciting!
Step 4: Save the Extra Glitter
Instead of throwing away the glitter that doesn’t stick, carefully gather it from the paper. Fold the paper slightly and pour the extra glitter back into its container. You can also use a small funnel to make this part easier. Kids usually love helping with this step too! If you used a craft tray or baking sheet, use a dry paintbrush to gently brush the glitter into a funnel.
Step 5: Repeat with Different Glitter Colors
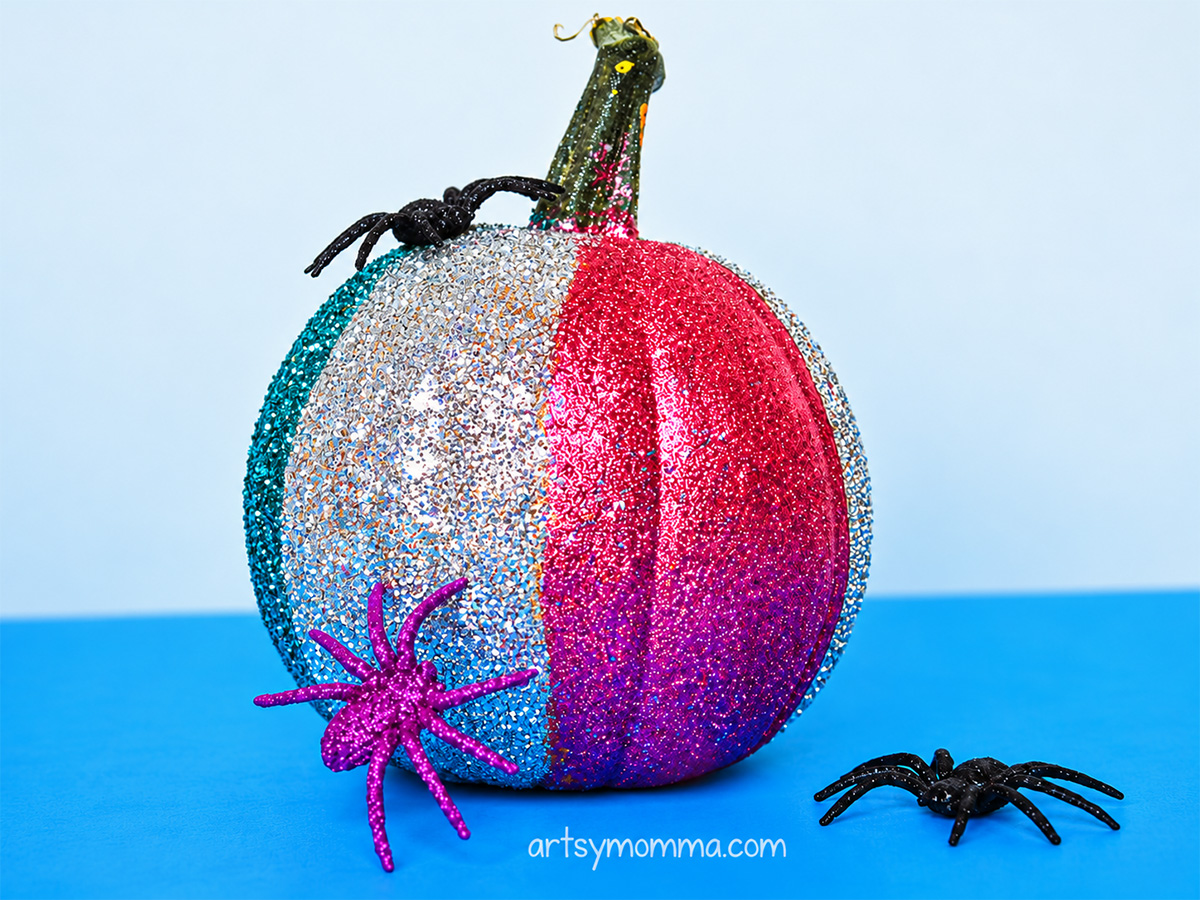
Continue painting glue onto the remaining sections of the pumpkin one at a time. Add a different glitter color to each section until the entire pumpkin is covered. We used a combination of silver, turquoise, and pink glitter.
Allow the glue to dry completely before handling or displaying your pumpkin. That’s it! Easy peasy!
Step 6: Finish with Clear Protectant (optional)
Add a coat of a clear protectant spray over the entire surface. This will help prevent the glitter from falling off.
Step 7: Add Fun Halloween Decorations
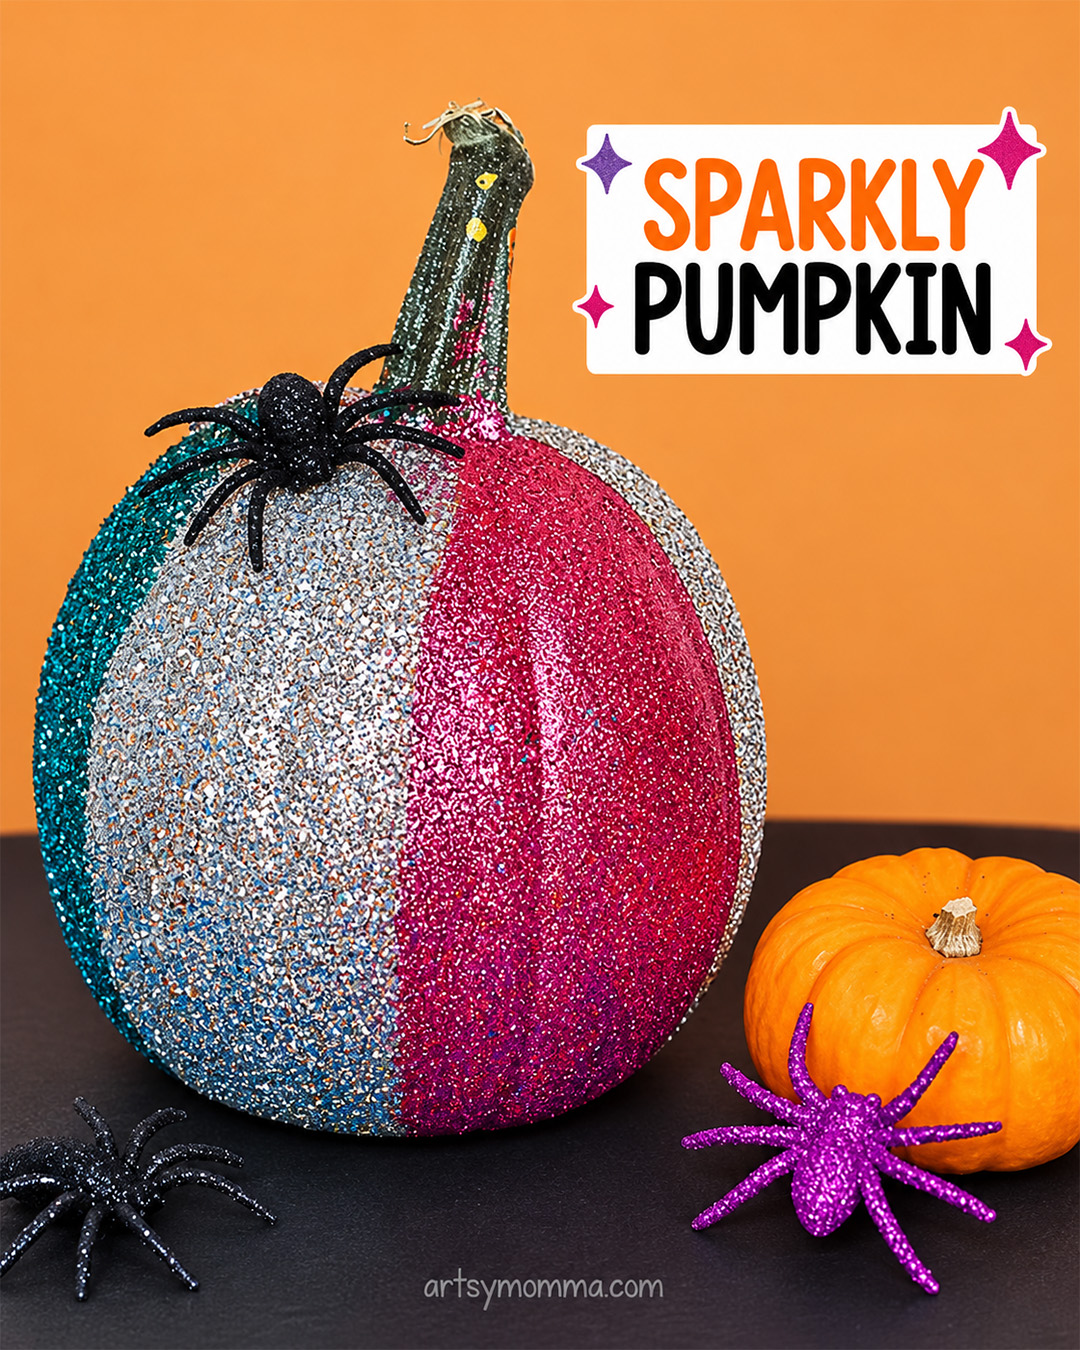
Once your glitter pumpkin is dry, it’s time to display it! We happened to have some glitter spiders on hand, and I thought they would look adorable next to our finished pumpkin (I purchased them at Dollar Tree). The spiders gave our sparkly pumpkin a fun Halloween look without making it too spooky.
You could also arrange your glitter pumpkin with other decorated pumpkins to create a colorful Halloween display.
Tips for Making Glitter Pumpkins with Kids
Here are a few helpful tips to make this Halloween craft easier and a little less messy:
- Work on one section at a time. Apply glue and glitter to one section before moving to the next. This helps keep the different glitter colors separated.
- Use a craft tray. A baking sheet or shallow tray helps catch loose glitter and makes cleanup easier.
- Let kids choose the colors. Choosing their own glitter colors is a fun way to encourage creativity.
- Allow plenty of drying time. Let the pumpkin dry completely before moving it around.
- Supervise younger children. Small decorations and loose glitter should be used with adult supervision.
More Creative Glitter Pumpkin Decorating Ideas
Want to try something different? Here are a few ways to change up this easy pumpkin craft!
- Add a thin ribbon with hot glue in between each glitter section.
- Hot glue bows or flowers on top around the stem.
- Add plastic spiders around your finished pumpkin for an extra Halloween touch.
- Purple, silver, and black glitter pumpkin: Use spooky Halloween colors with black roses hot glued to top for a dramatic look. Add a mini skeleton.
- Pastel glitter pumpkin: Try light pink, lavender, white, and teal for a cute Halloween decoration in non-traditional colors.
- Rainbow glitter pumpkin: Cover each section with a different bright rainbow color.
- Create a more traditional fall decoration using earth tones, gold, ribbons and a big bow.
There are so many ways to customize this simple pumpkin craft!
Frequently Asked Questions About Glitter Pumpkins
What kind of glue should I use for glitter pumpkins?
A craft glue that dries clear is a good option. Apply it with a paintbrush or foam brush to help spread the glue evenly across the pumpkin.
How do you keep glitter from making a mess?
Place a sheet of paper or craft tray underneath your pumpkin before sprinkling on the glitter. Work with one color at a time and return the extra glitter to its container. As a last step, use a clear craft protect spray to help prevent loose glitter falling.
Can toddlers and preschoolers make glitter pumpkins?
Toddlers and preschoolers can help with parts of this craft – especially choosing glitter colors, painting on glue and shaking on the glitter. Adult supervision is recommended when working with loose glitter and small decorations. An adult should use the clear protectant spray outdoors.
How long does a glitter pumpkin take to dry?
Drying time depends on the glue, how thickly it’s applied, and the room conditions. Follow the glue manufacturer’s drying instructions and make sure the pumpkin is completely dry before handling it.
More Easy Halloween Pumpkin Decorating Ideas
If you loved making these DIY glitter pumpkins, be sure to check out some of our other fun pumpkin decorating ideas for kids!
- Decorate mini pumpkins with chalk markers
- Cute puppy pumpkin decorating idea
- No-carve mini owl pumpkin with crafty embellishments
- Creative pumpkin designs for Halloween
These Halloween crafts are perfect for getting creative together as a family.

A Fun and Sparkly Halloween Craft for Kids!
Making these DIY glitter pumpkins was such a fun Halloween activity to do with my daughter. I love that this craft lets kids experiment with different colors while creating a unique pumpkin decoration they can proudly display. And even though glitter can get a little messy, the finished pumpkin is worth it!
Have you ever made glitter pumpkins or other glitter Halloween decorations? I’d love to hear about your favorite creative pumpkin decorating ideas in the comments!
Don’t forget to follow Artsy Momma on Facebook for more kids crafts, seasonal activities, and creative holiday ideas.