Printable Mermaid Posters with Cute Sayings
We love all things under the sea and today we are sharing not only another fun ocean craft idea, but it’s a free printable and possibly even a cool technique you may not have tried with the kids yet. This project involves doing a watercolor and glue resist painting, except with black glue instead of one that dries clear. Sounds neat, right? Our printable mermaid posters with cute sayings can be used with this painting technique or you can use them as coloring pages or any other way you’d like.
Black Glue Mermaid Craft Tutorial
*This post contains affiliate links which you can read more about here.
Supplies:
- white cardstock
- printer

- Printable Mermaid Posters (3 total)
- watercolors (we used these)
- paintbrushes (we used a waterbrush)
- small plate or paint tray
- white glue
- black paint

 (we used
  )
) (we used a
  )
)


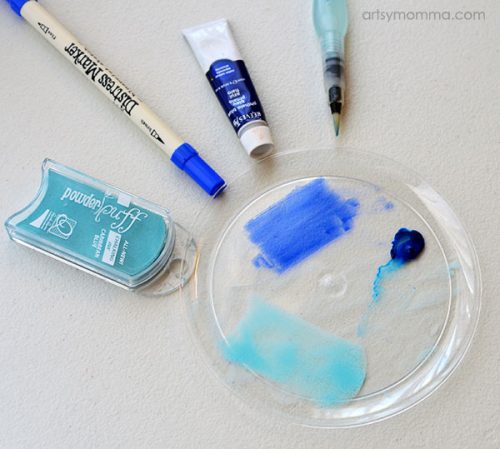
optional items used: Tim Holtz Distress Marker , ink pads
Printable Mermaid Posters with Cute Sayings
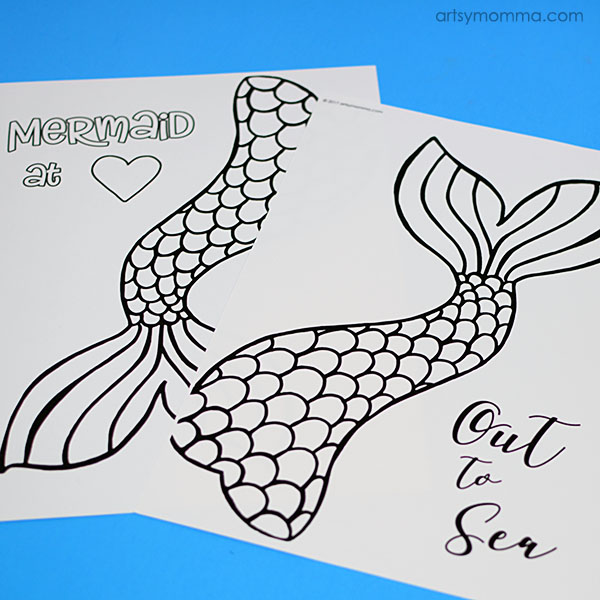
Next, you’ll want to print the mermaid templates. There are 3 versions available with the following cute sayings:
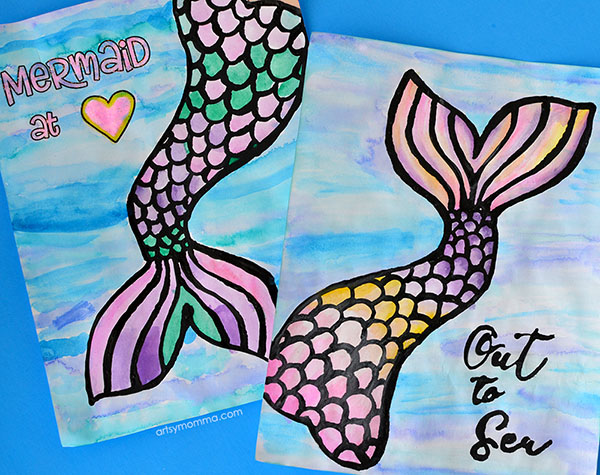
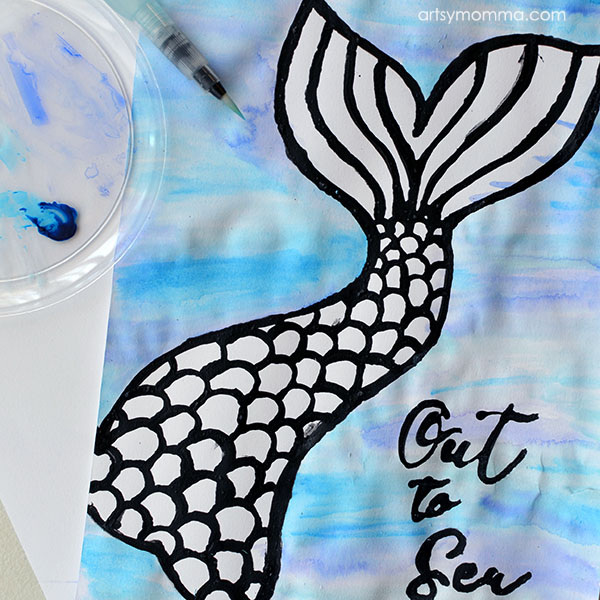
- Out to Sea
- Mermaid at Heart
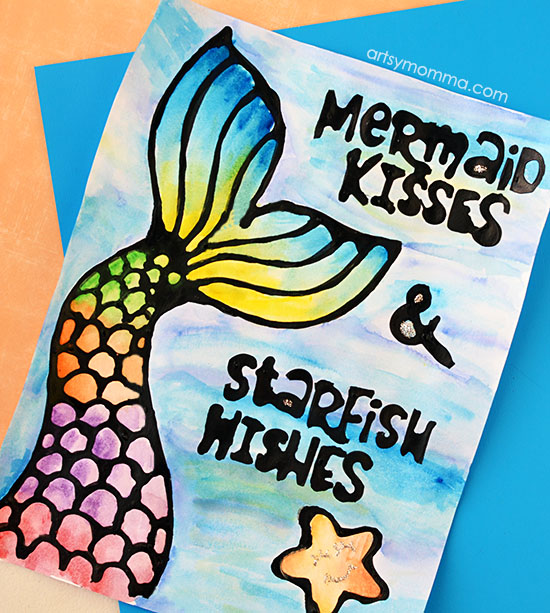
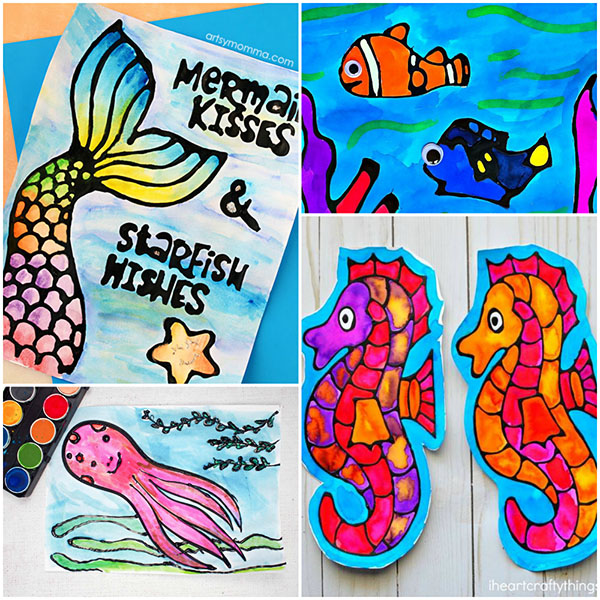
- Mermaid Kisses & Starfish Wishes
→ Check out these cute mixed media mermaid magnets featuring the 3rd saying!
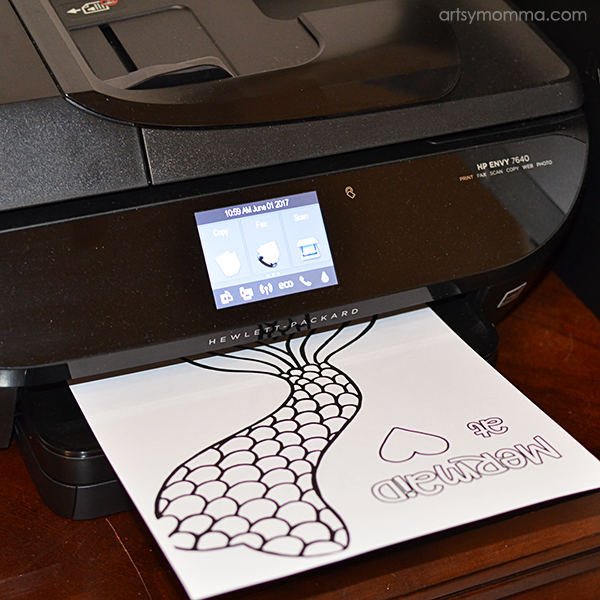
This year, we are taking part in the HP Smart Mom program. I have owned several of their printers before. The one they sent us to use and give feedback on is my favorite so far. It’s the HP Envy 7640 All-in-One printer and it comes with wireless printing (straight from your phone) and it prints photos (my favorite part!). Above is a sneak peek and we will share more about the features in another post about the photo options.
How to make the Black Glue:
You’ll need a partially empty white glue bottle, such as Elmer’s. There needs to be enough room to add black paint into it. You can either use black paint or powdered tempera paint. I recommend using a funnel with the powdered paint otherwise it may take awhile to fill. My kids love to do the shaking part. Test a drop of glue on scrap paper and add more paint until it is dark black.
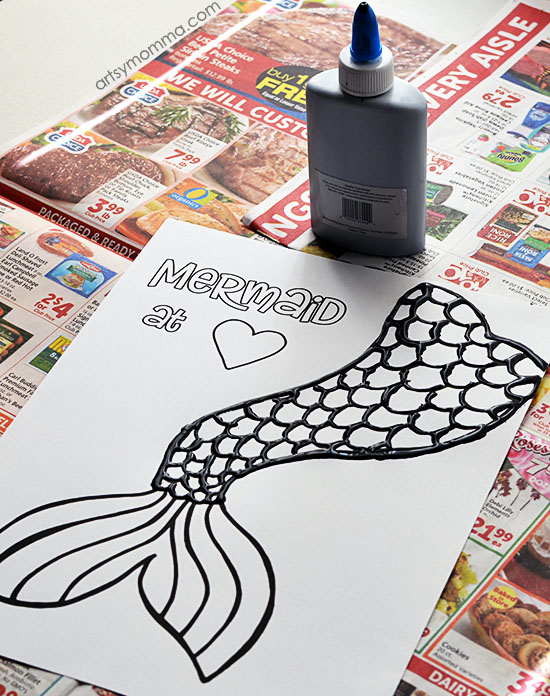
After printing, it’s time to outline the black lines with black glue. I find it convenient to keep a wipe or paper towel on hand to wipe the tip off every so often. Tip: If you like your glue lines to be straight/smooth, you’ll want to pull the glue across the lines somewhat quickly and as steady as you can. It’s a bit hard to do with the mermaid scales, the longer strokes are easiest to get a cleaner look. Once finished outlining, set aside to dry for a few hours or overnight.

I also filled in the saying with pink glitter glue because we had a brand new bottle sitting out that Little Sister insisted on using.
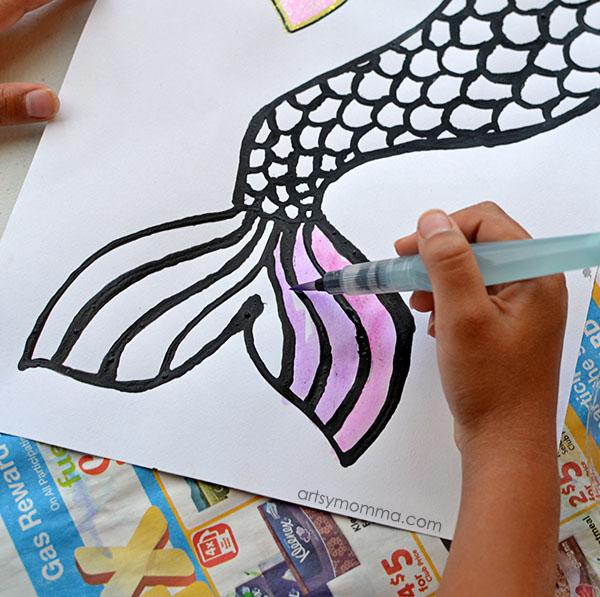
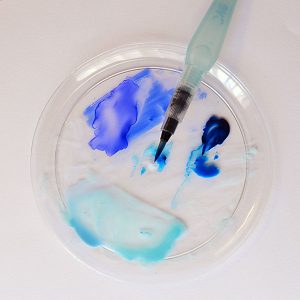
This was the 1st time Little Sister used one of my waterbrushes and she LOVED it!. The handle is filled with water and you just give it a little squeeze to get the water to drip out. The best part about these is that it doesn’t involve a cup of water accidentally spilling over, haha. I placed tiny blobs of the watercolors on a plate along with ink for different hues. (Just stamp the ink on to the plate, then add a drop of paint and use it like watercolors).
When placing on the paper to create the water, use the watery parts for a lighter tone and the other parts for darker tones. Blend the two tones together and repeat with the other 2 blue colors. For an even lighter, watery look, pull the waterbrush through without the paint to blend/fade the colors together.
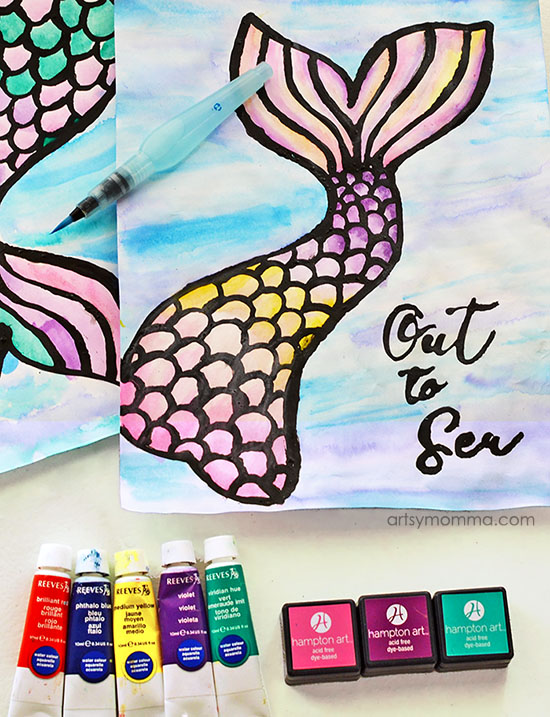
On my ‘Out to Sea Mermaid Sign,’ I used ink turned into watercolors to get the color pinks I wanted since my watercolor set didn’t include any. Little Sister used the teal ink in her water and I think it turned out cool-looking!
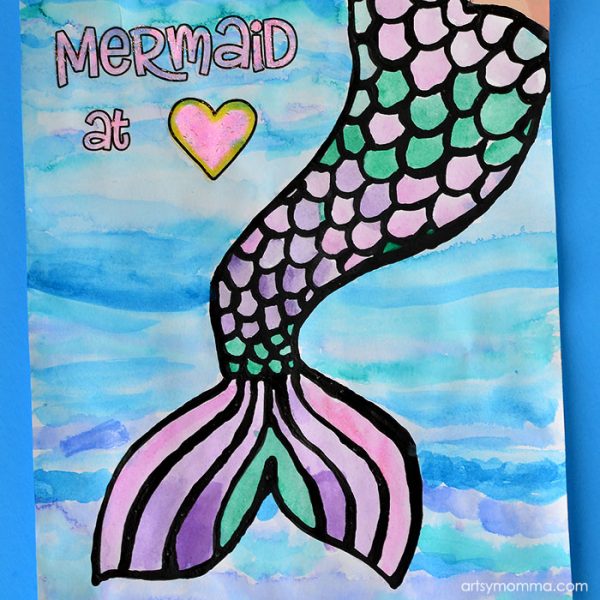
Finished Mermaid At Heart Watercolor Art; Little Sister – 6 yrs old

Finished ‘Out to Sea’ Mermaid Sign.
See more awesome 12 more black glue ocean crafts here!
How would you color these Printable Mermaid Posters? Do you have a different mermaid saying you would love to use? Let us know!


why don’t you give the option of printing the instructions?