DIY Nautical Christmas Decor Project
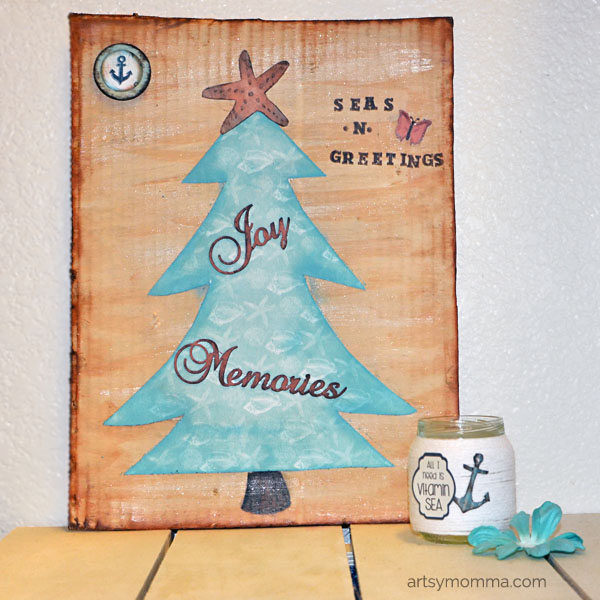
Do you know someone who loves the decorating during the holidays with a beach/ocean theme? Check out this super simple DIY Nautical Christmas Decor project that meshes these two unlikely themes together. It features a Christmas tree and the nautical saying, “Seas -n- Greetings.” Find the step-by-step tutorial below.
DIY Nautical Christmas Decor Tutorial
*This post contains affiliate links. We also receive products/compensation as part of being a Xyron Design Team member. Find our full disclosure policy here.
Supplies Used:
- cardboard
- white and tan paint

- paintbrush
- Distress Ink, ground espresso
- scissors
- small wood circle
- 1″ hole punch
- mini letter stamps
- Joy chipboard (or you could hand letter it)

 , ground espresso

From Xyron:
- Creative Station with permanent adhesive cartridge
- 3″ disposable sticker maker
 with permanent adhesive cartridge
From Quick Quotes Scrapbook Company:
- Anchors Aweigh Paper Pack
- Coral PowderPuff Chalking Inks
- Caribbean Blue PowderPuff Chalking Inks
- Amaretto PowderPuff Chalking Inks
Instructions:
Find a piece of cardboard (i.e. from a box) and cut it to your preferred size.
Quickly brush streaks of tan paint across it – it doesn’t have to be perfect. Dip the paintbrush in white paint and brush it over the tan. Do this until it is completely covered. It should look like streaked white paint with tan peeking through.

Take the Amaretto PowderPuff Chalking Ink and stamp it on a craft mat (a plate would also work). Then take either a waterbrush or a paintbrush dipped in water and pick up some of the ink. Add light streaks throughout the background. If you accidentally do too much, just take the white paintbrush and gently paint back over it. Repeat this process until you are happy with how it looks.
Once dry, use the amaretto ink on the [top] edges of the cardboard and slightly inwards. Next, use the Distress Ink on the sides of the cardboard. I also held it on a slight angle so that some of the inch went on the top edge and corners.
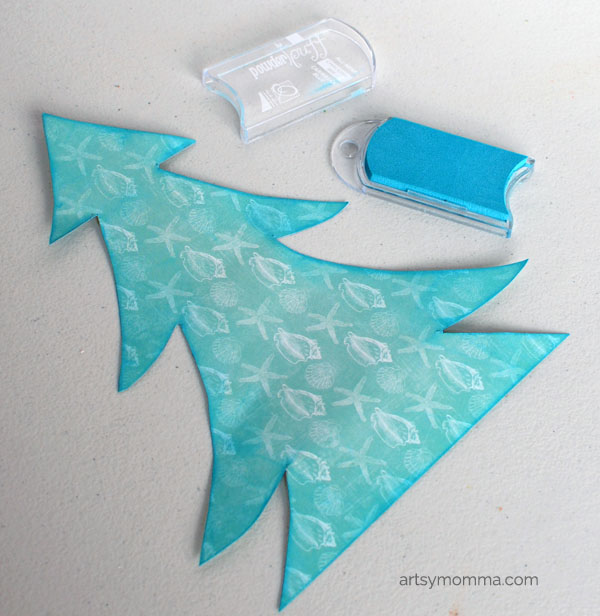
Print or draw a tree template. Place on one of the Anchors Away papers and trace it. Cut around it. I used one of the seashell patterned papers. This time, I held the Caribbean Blue PowderPuff Chalking Ink in one hand and the tree in the other, then inked the top edges of the tree and the sides. Next, I placed it on a sheet of paper and gently brushed ink mostly on the sides of the tree but also quickly across the whole tree.
Make a starfish the same way as the tree. I used the coral and amaretto inks as well as Distress Ink on sides.

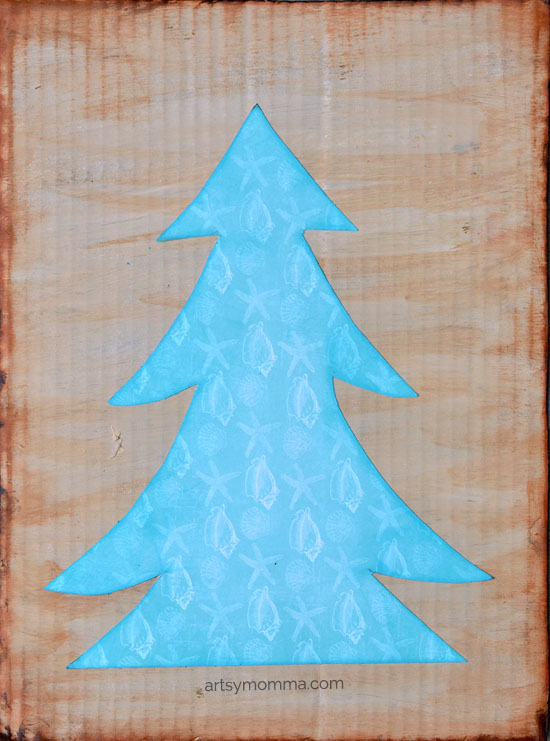
Once these are dry, it’s time to send them through the Xyron® Creative Station. Peel off the backing and place on the cardboard. Place the starfish on top of the tree. Use the two brown-toned inks to make a tree stump.
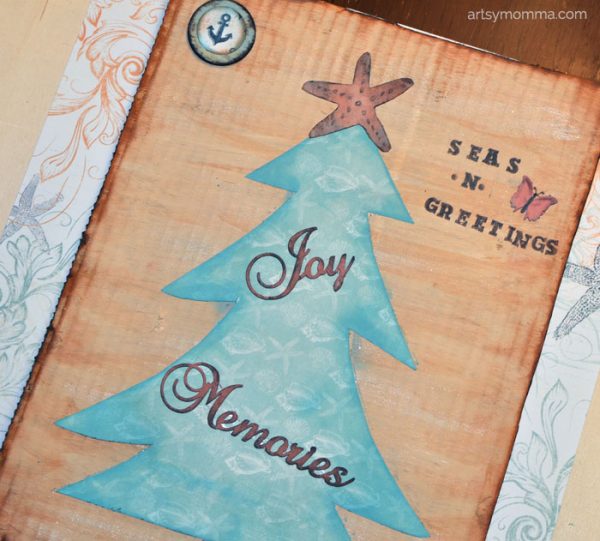
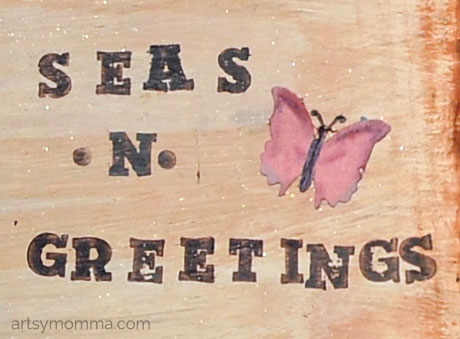
The ‘Seas -n- Greetings’ saying is stamped on with the espresso ink and the mini letter stamps.
The wood and chipboard embellishments were also colored with all the PowderPuff Inks and the sides with the Distress Ink. I used a 1′ craft hole puncher around an anchor on one of the Anchors Away papers. All the embellishment were sent through the 3″ disposable sticker maker.
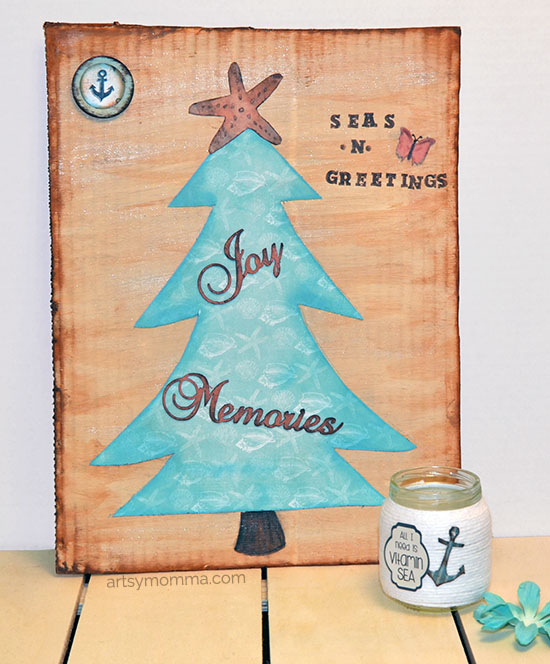
Now your DIY Nautical Christmas Decor is ready to be displayed on a shelf, hung as wall decor, or given to a friend!
To see more projects ideas like this one, check out these pages: