Distressed Halloween Favor Bags and Cards
I’m in love….
with Tim Holtz Distress markers, ink, paint, stain – you name it! For one of our Xyron Design Team projects this month, we got to craft with Tim Holtz products. I received a bunch of new-to-me art supplies to try out and it was so much fun! Check out our journey to learning different techniques below with these SPOOK-tacular tutorials for creating distressed Halloween favor bags and cards.
I ended up making Halloween backgrounds using all kinds of creative techniques…. in other words, a giant craft experiment. WooHoo! I watched Tim’s YouTube videos for learning different techniques.
Distressed Halloween Crafts
Supplies Used:
*This post contains affiliate links.
MAIN
- Tim Holtz idea-ology Paper Stash 8×8 Collage
- Tim Holtz Distress Paint Dabber Abandoned Coral, Carved Pumpkin
- Tim Holtz Ground Expresso Distress Stain
- Tim Holtz Ground Expresso Distress Ink
- Tim Holtz Distress Markers – abandoned coral, ground expresso
- Stamper’s Anonymous CMS275 Mini Halloween 5
- Xyron Creative Station Lite
 with Permanent Adhesive Cartridge
 - Xyron 1.5 inch Sticker Maker
- ColorBox Archival Dye, Wicked Black
- mini craft bags
- watercolor paper and/or heavy cardstock
- stamp block
- water brush and/or spray bottle with water
- mini ink blender
- wipes
 with Permanent Adhesive Cartridge
 , Wicked Black
 and/or spray bottle with water
OPTIONAL
- flower embellishments
- Irresistible Pico Embellisher, wedding dress
- galaxy markers -white, gold
- stencils, art screens, and so on


 , wedding dress
 -white, gold
Distressed Marbling Technique
This is so neat. You can do this a couple different ways.

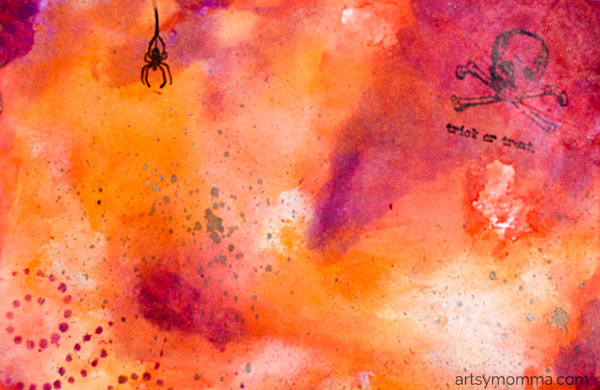
1. Take your Distress Paint dabbers and randomly dab them on a craft mat or anything you have on hand such as a plate (I used my craft cutting board). Then spritz it with water so it can blend easily. Take your watercolor paper or cardstock and swipe it over the paint.
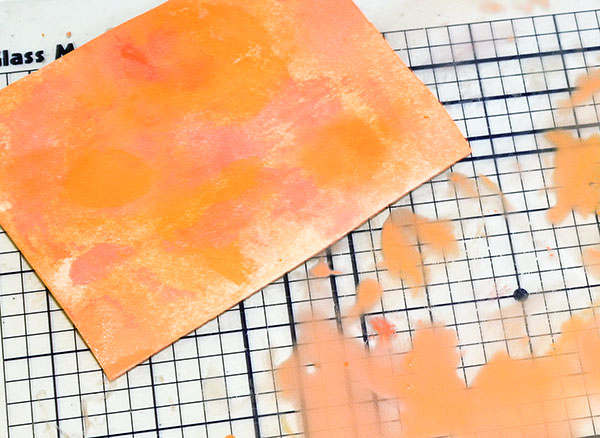
Lift it up and see the cool marble look. Repeat with the sections that were missed until the whole piece is covered.
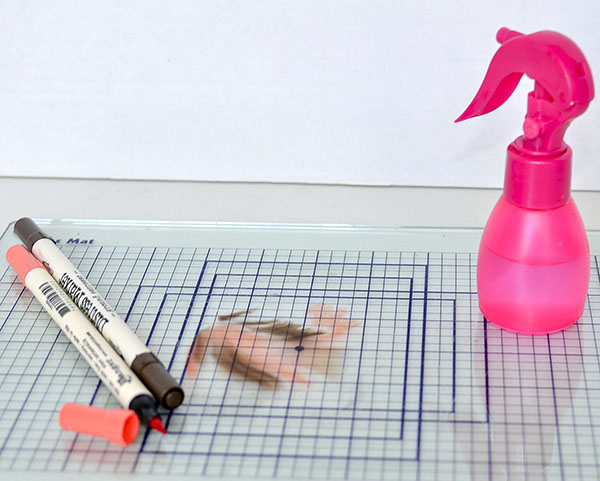
2. Instead of using the paint dabbers, take the distress markers and color on the craft mat. Spritz with water and follow the same steps as above.
You can also spray it again with water after it’s on the paper.
Layering Techniques
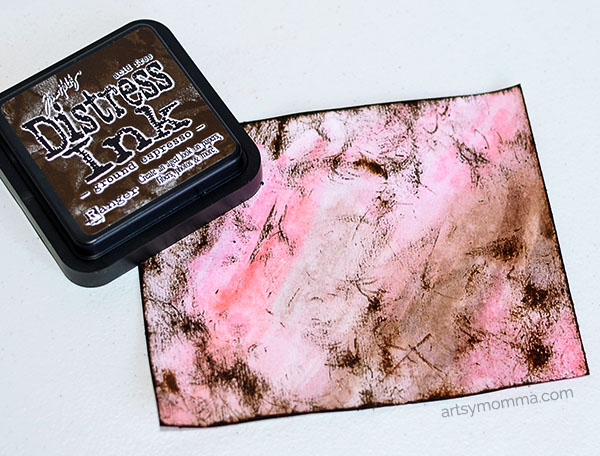
1. Use the Distress ink pad to gently brush over the marbled design and the edges.

I also used a mini ink blender with the distress paints and a purple-ish ink I had on hand. Just use a circular motion while rubbing.
2. Use a shimmer spray or similar to spritz lightly over the marbled papers.
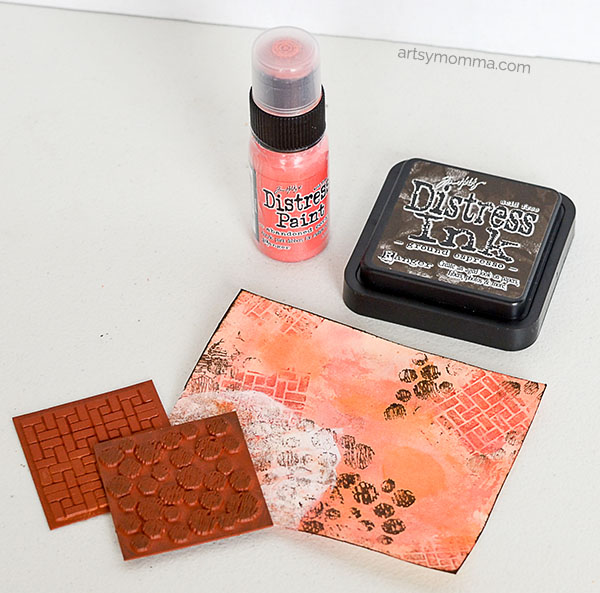
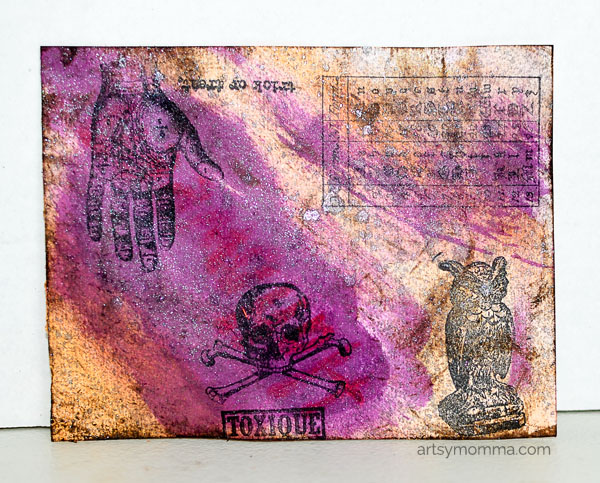
3. Use art screens, stencils , stamps and so on.
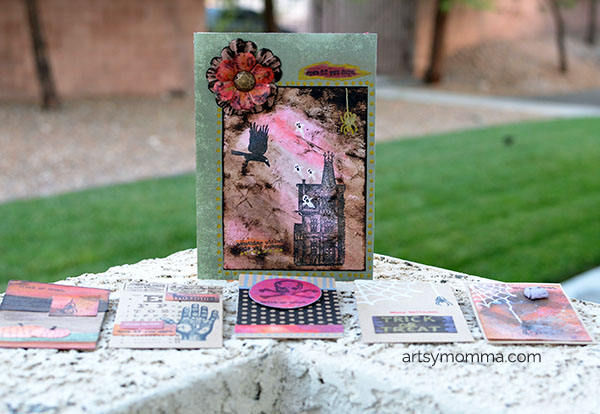
Distressed Halloween Card Tutorial
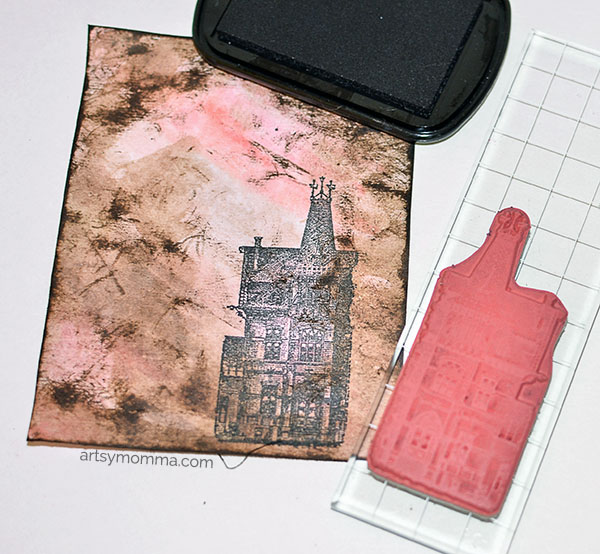
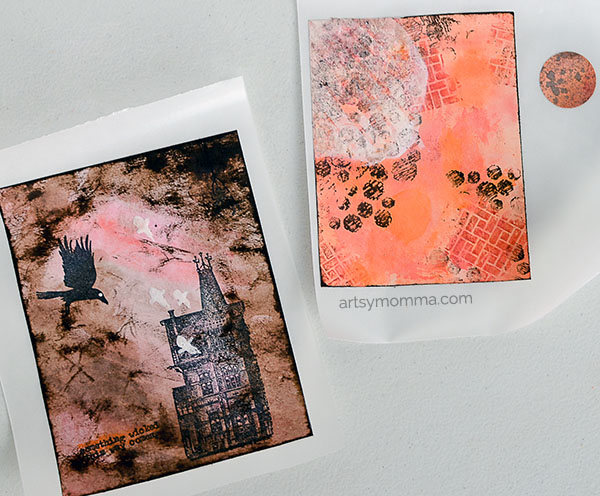
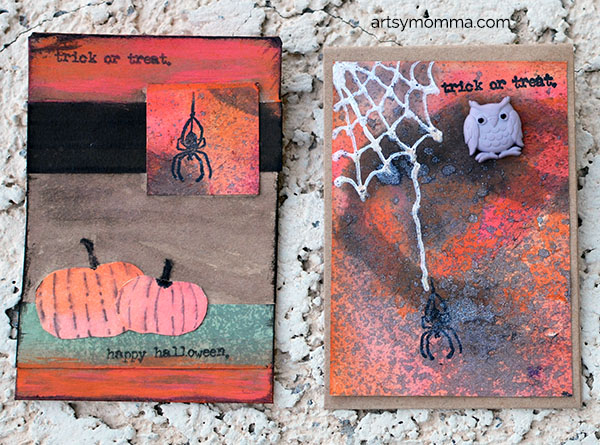
Haunted House, bird, and “something wicked this way comes” saying are from the Stamper’s Anonymous Mini Halloween set with black ink.
The ghosts are made using the Irresistible Pico Embellisher and the Distress Markers for the eyes and mouth.
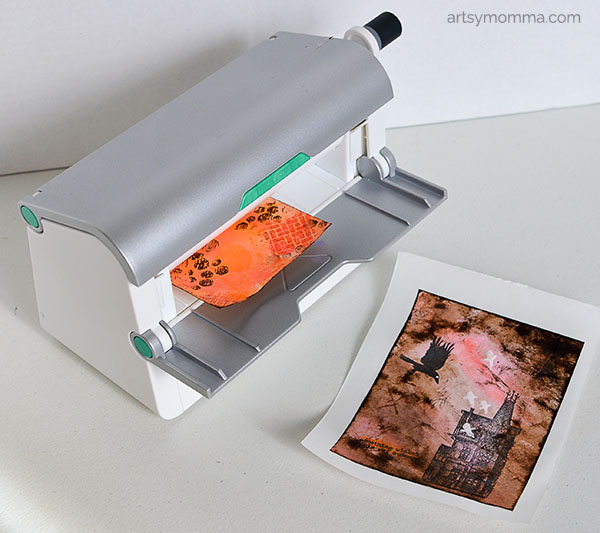
Send the background pieces through the Xyron® Creative Station Lite.
Peel off the backing and adhere to the cards (and mini Halloween favor bags).
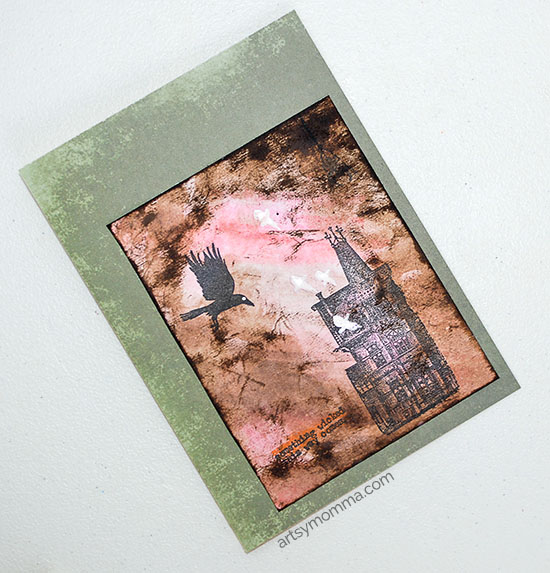
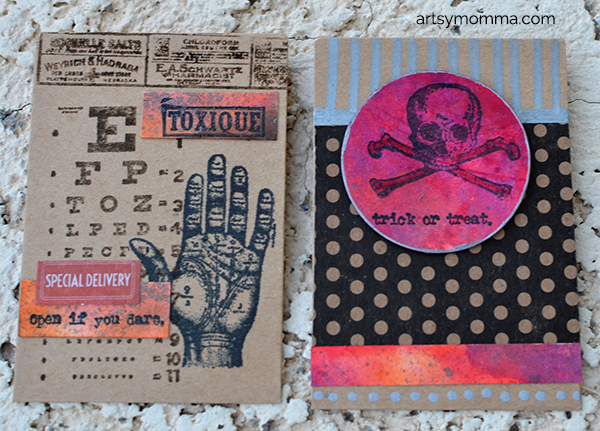
I love this green background found in the idea-ology 8×8 Collage paper stack.
Embellished with paper flowers (colored with the ground expreso Distress Ink Pad), “open if you dare” stamp, and a gold galaxy markers (dot border).
Ideas for Distressed Halloween Favor Bags
Using all the fun backgrounds I made, I decorated the mini paper favor bags and embellished with stamps, markers, etc.
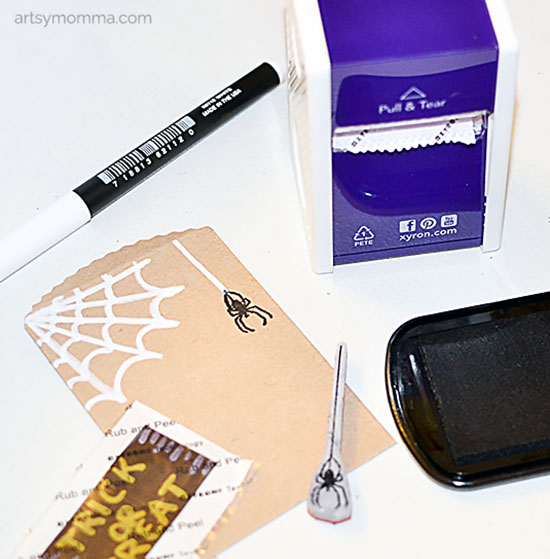
Everything is easily stuck in place with a Xyron 1.5″ Sticker Maker.
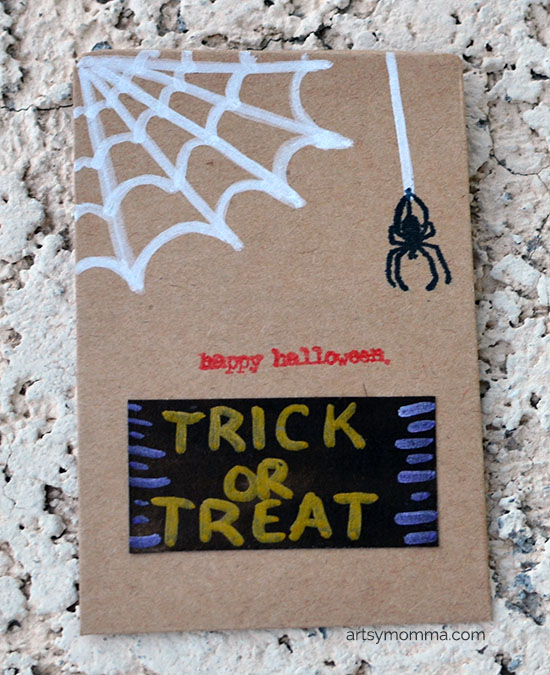
Now the distressed Halloween favor bags are ready to be filled with goodies!
Stay tuned to see what fun projects we made using the rest of our artsy Halloween backgrounds. Check out our DIY Halloween Books made from cereal boxes for more Halloween fun!
Find more info and artsy ideas: