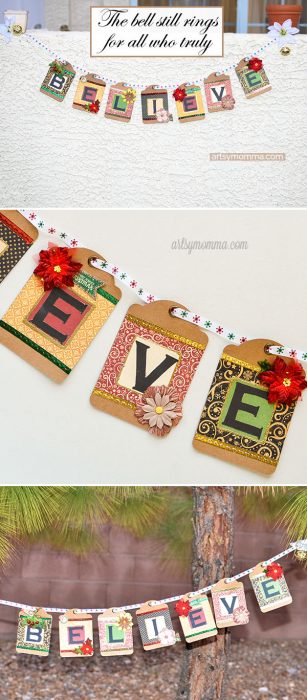
DIY ‘BELIEVE’ Christmas Banner Inspired By The Polar Express
What classic Christmas movie is a tradition in your home? For us it’s, The Polar Express. Every year since my son was one, we put on our pajamas, drink hot chocolate, and watch the movie together as a family. (See our Polar Express movie night here!) Today we are sharing a Christmas decor project inspired by this movie, a DIY ‘BELIEVE’ Christmas Banner! You can find the step-by-step tutorial below!
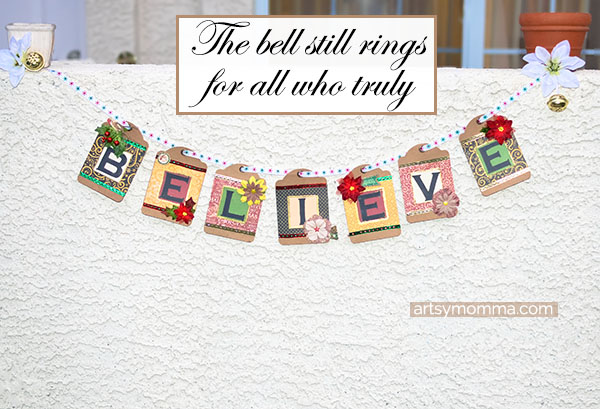
“The bell still rings for all who truly believe.” – The Polar Express
*This post contains affiliate links. I also received compensation/products as part of being a Xyron Design Team member. You can find our full disclosure policy here.
This month, the Xyron design team members have teamed up with Petaloo and Graphic 45 design team for an entire week of “Decorating Your Home for the Holidays“. You will find tons of holiday projects from all three design teams + many SUPER awesome giveaways. You can find all the projects and giveaway details on the following Facebook pages: Graphic 45 | Petaloo | Xyron
How to make the DIY ‘Believe’ Christmas Banner
Supplies Used:
- Creative Station Lite
 with a permanent adhesive cartridge
 - Xyron® 1.5 Sticker Maker
- Xyron® Tape Runner
 with a permanent adhesive cartridge

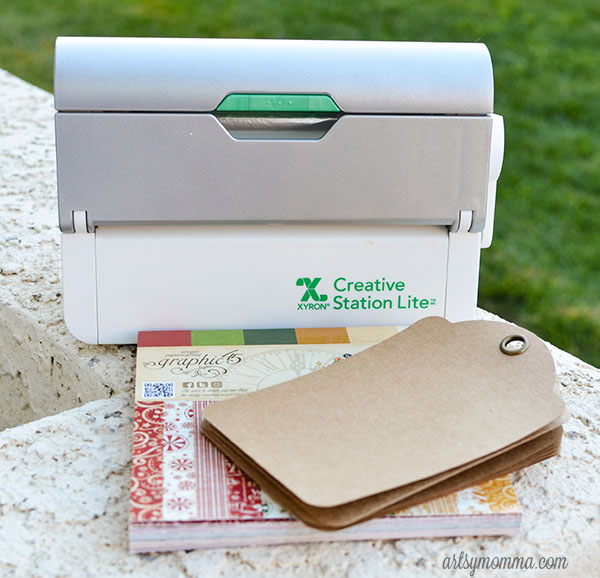
- St. Nicholas 6×6 Patterns & Solids Pad
- Regular Tag Albums (Graphic 45 Staples)
- St. Nicholas Banners

 (Graphic 45 Staples)
- Regal Velvet Poinsettia, red
- Vintage Velvet Holly Leaf Pick
 , red
, redOther Items:
- Christmas Ribbon
- Gold Embossing Powder
- Darice Heat Tool
- Jumbo Bells
- Flower Embellishments, Brads, etc.
- BELIEVE letters printed on cardstock (font used:Coppertone Goth)


 ,
,  , etc.
 (font used:Coppertone Goth)
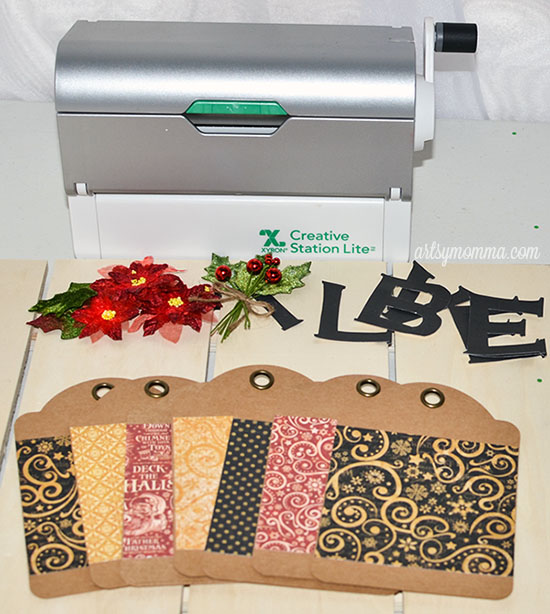
Instructions:
1. Cut [almost] squares from the St. Nicholas papers, 7 total. Place these through the Xyron® Creative Station Lite. Peel them off and stick one on each tag.
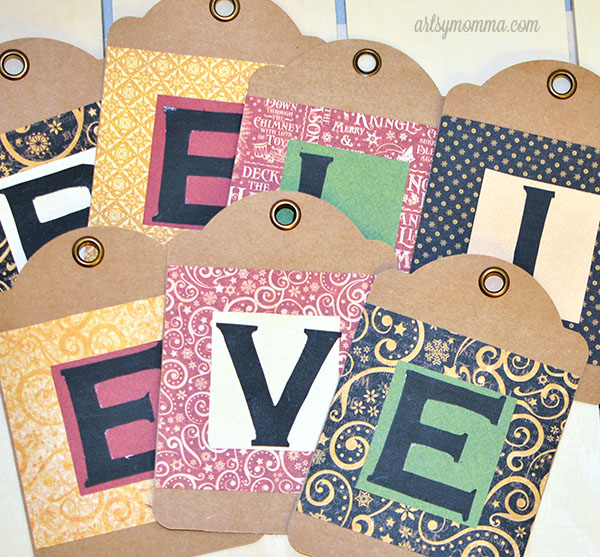
2. Print the letters for the word ‘Believe’ onto white cardstock. Cut these out. Cut squares slightly bigger than your letters using the different patterns from the paper pad. Send both the squares and the letters through the Creative Station Lite. Stick one square and one letter onto a tag, repeating until all are done.
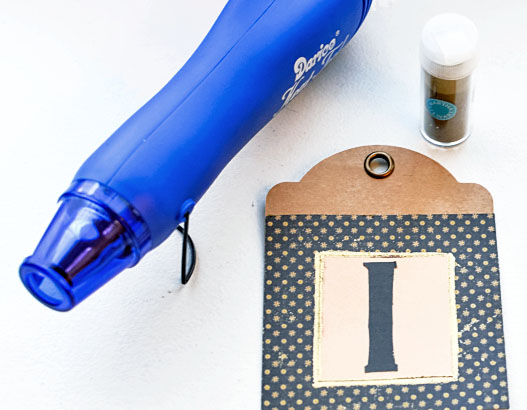
3. Use gold embossing powder and a heat tool to emboss around squared letters.
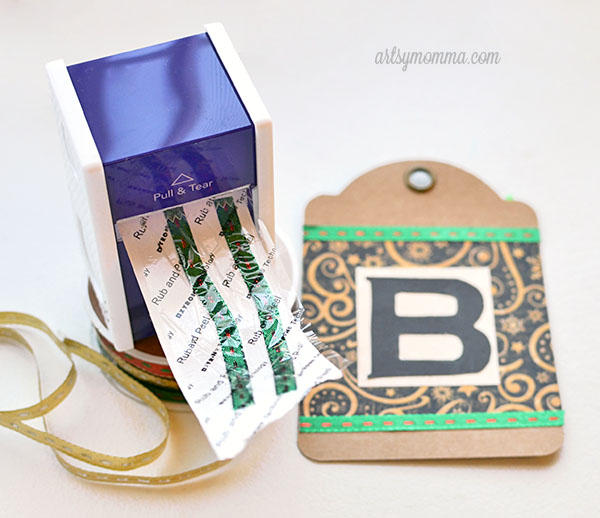
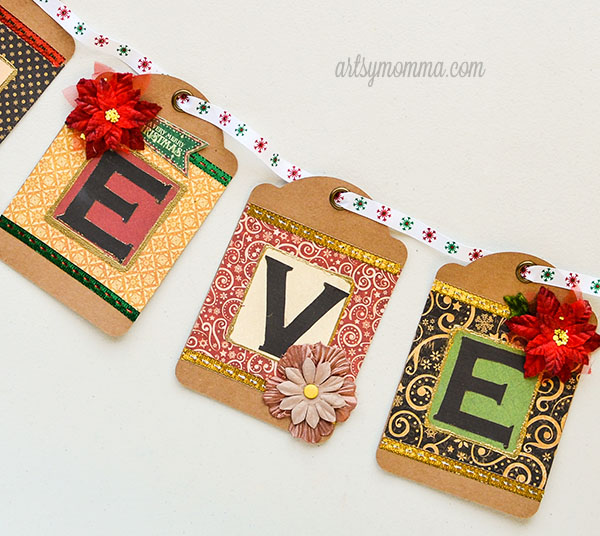
6. Cut different colors of Christmas ribbons the same width of the tags. You will need two of one color for each tag (a total of 14 ribbons). Place these through the Xyron 1.5″ Sticker Maker. Rub the backs and then peel them off one at a time, adhering them where the patterned paper meets the tag. Place one near the top and a matching ribbon along the bottom.
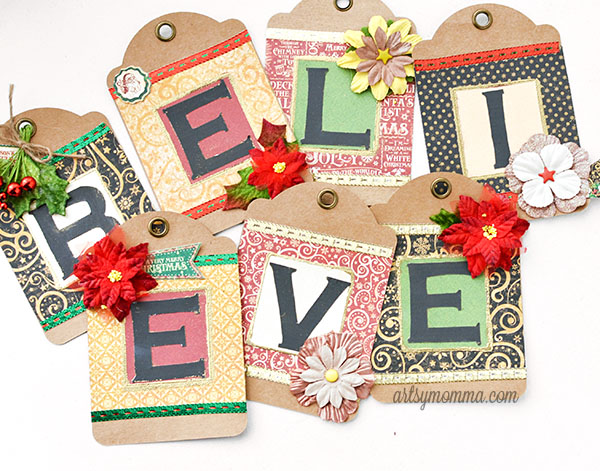
7. Play around with your embellishments until you have a design that you like. I used Petaloo poinsettia, holly and leaf embellishments as well as items from the St. Nicholas Banners. I also used paper flowers and brads.
All but the brads can be sent through the 1.5″ Sticker Maker or Creative Station. Do make sure you rub the backs before peeling the flowers off. Then, just stick them in place.
8. Once you have the tags for you banner done, it’s time to add ribbon for hanging. I threaded these through the holes and then took my tape runner to stick the ribbon in place. Otherwise they twist, turn, and slide.
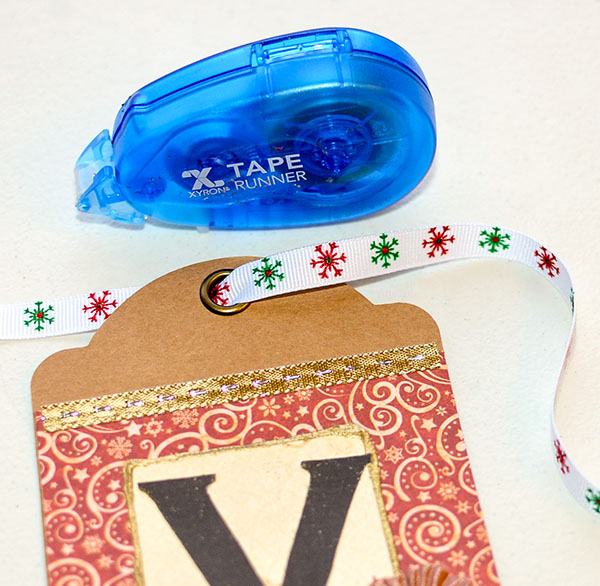
To do this, cut a giant piece of ribbon long enough to hold all the letters. Place one tag onto the ribbon and slide it down. Lift up the tag and press the tape runner along a small section of the ribbon (about a centimeter). Press the tag back on top of it. Now lift the ribbon and run the tape runner from the hole to the top-right edge. Place the ribbon on top of it and press.
Repeat until you have all the tags on, spelling, “Believe.”
9. Tie a jumbo jingle bell on each end of the banner. You will also need to make a loop for hanging using ribbon (ours came with thin, gold ribbon for hanging). Sting it through the bottom of the bell and tie the ends together. It should now have a loop for hanging with a bell dangling down. Add a flower on ends/bell if you’d like.
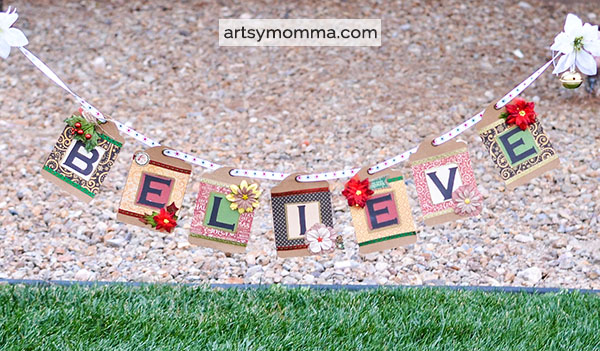
10. Hang up in your home for all to enjoy!
Wishing you, “The most beautiful-est, most wonderful-est Christmas ever.”


I need to make more holiday decor and I love your banner! 😀 thanks so much for sharing. It’s been a great week of hopping with Xyron, G45 and Petaloo
This is a really cute and fun idea! Would also make
a great gift. Thanks for sharing!
Love the banner. The sticker maker looks like a wonderful
tool to have. thanks sharing.
Love your banner. Great tutorial on how you made it. Thanks for sharing.
Awesome, love Polar Express, great inspiration, and your choices of Graphic 45/Petaloo made it and awesome inspiration…tfs.
Love your DIY BELIEVE Christmas banner and the easy to understand tutorial! Very impressed with all of the Xyron products I’ve been introduced to in this week’s blog hop!
Wow! Such amazing project!!!
How fun and
so easy to make.
Carla from Utah
Your banner turned out fabulous!!
FAbulous. I like the jingle bell at the ends.
What a cute idea! I love banners and need to make one for Christmas.