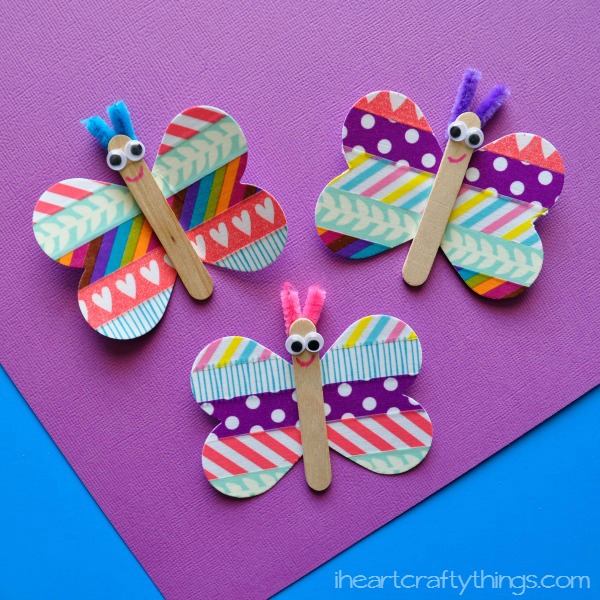
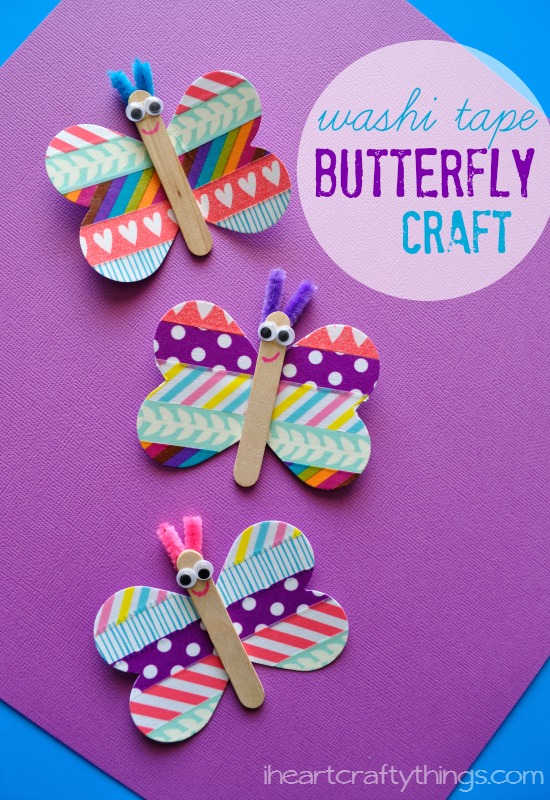
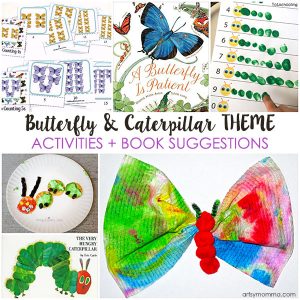
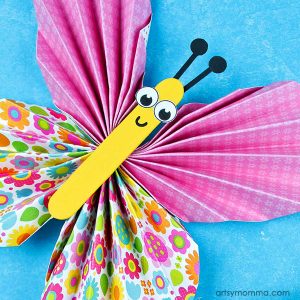
Butterfly Washi Tape Craft for Kids
Let’s make a mini washi tape butterfly craft! These pretty craft stick butterflies can be turned into magnets or left as is. *This post was originally published on 3/25/15 and updated on 3/31/2020.
Hi everyone! I’d like to introduce you to Rachel from I Heart Crafty Things who will be contributing once in a while on Artsy Momma. She shares so many cute ideas on her blog. I especially love her book-based crafts, cupcake liner crafts, and all things washi tape! Be sure to head on over for tons of crafting fun after reading about this adorable butterfly washi tape craft.
Washi Tape is one of my craft material weaknesses. Do you have one of those? I see the beautiful, brightly colored and patterned tapes and I cannot resist them when I’m at the store. My love for the tape is one reason we have lots of fun making washi tape crafts at my house.
Since Spring is officially here I thought it would be fun to whip out our tape and make this cute Butterfly Washi Tape Craft. Kids will love designing their own patterned butterfly wings and even little ones can get in on the fun.
Mini Craft Stick Butterfly Supplies
- white cardstock paper
- assortment of washi tape
- pipe cleaners
- small googly eyes
- heart punch (ours is 2-3/8 inches)
- mini craft sticks (we received ours from craftprojectideas.com)
- red marker
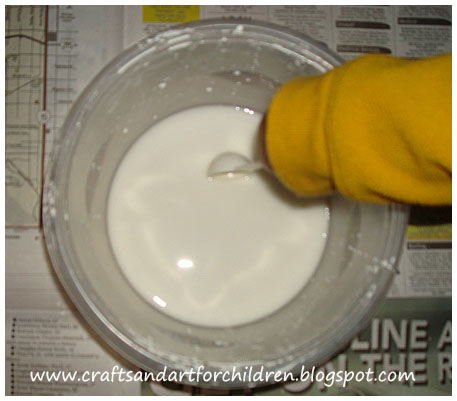
- tacky glue
How to make Washi Tape Butterflies
1. Start by cutting your white cardstock paper into fourths. Each sheet will make one butterfly.
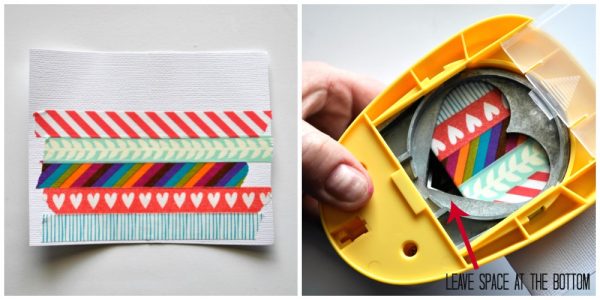
2. Decorate your small cardstock piece with washi tape. The outside edges won’t be included in the butterfly wings, but just let your kids decorate the sheet however they choose.
3. Fold your cardstock piece directly in half. Slide the folded end into your heart punch leaving a small amount at the bottom of the heart punch open (see picture above). Punch the heart out. You are left with little heart shaped butterfly wings.
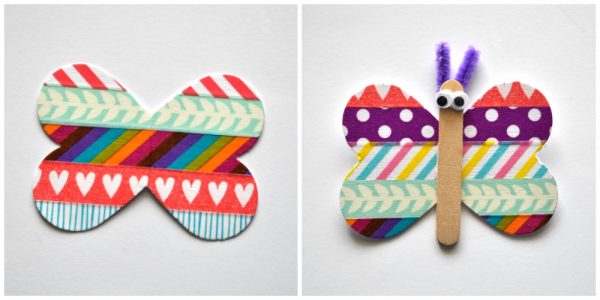
4. Glue a mini popsicle stick to the center of your butterfly wings with your tacky glue.
5. Cut a small piece off of your pipe cleaner, bend it in half to make antennae and glue it to the back of your butterfly with your tacky glue.
6. Finish your washi tape butterflies by gluing on two small googly eyes and drawing on a mouth with your red marker. Let the glue dry completely before playing with them.
For added fun you can glue a magnet to the back of them and display them on your fridge and use them to hold up more of your kids’ spring artwork.
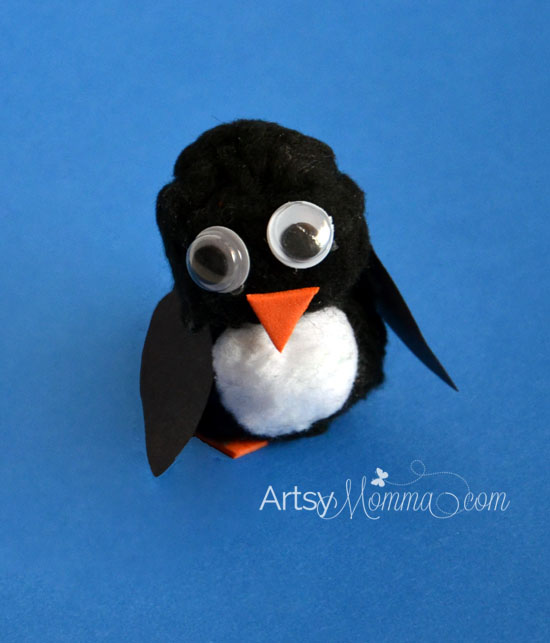
If you enjoy this activity, feel free to check out some of my other spring crafts like this Paper Bag Butterfly or Balloon Printed Chicks.


Your craft ideas are just really cute! My daughter would love these!
These look so adorable! I am going to use this as inspiration to make a cute badge.