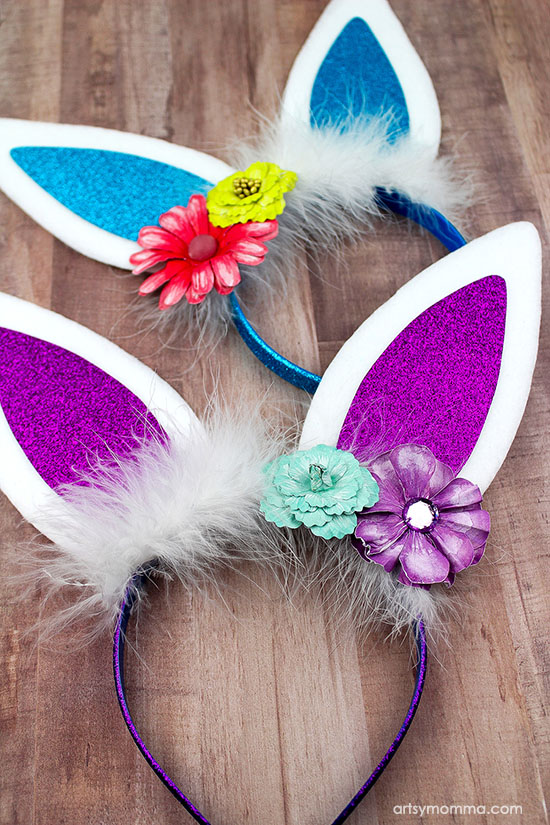
DIY Bunny Ears Headband Tutorial for Easter or Spring
We love taking photos during Spring with everything growing, as well as Easter photos of the kids. One of the cutest photo props ideas are bunny ears. Kids seem to love wearing them and they are fun to wear while visiting with the Easter Bunny. Here’s a great bunny ears headband tutorial with a printable template so you can make your own. They are perfect for Spring and/or Easter photos.
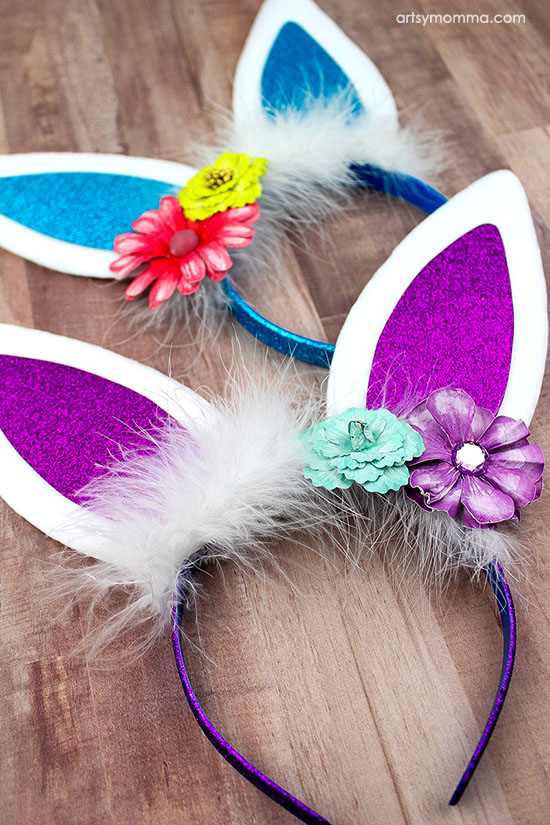
Easter Bunny Ears Headband Tutorial
*Some of the links in this post are referral links. We may earn a small commission on items purchased.
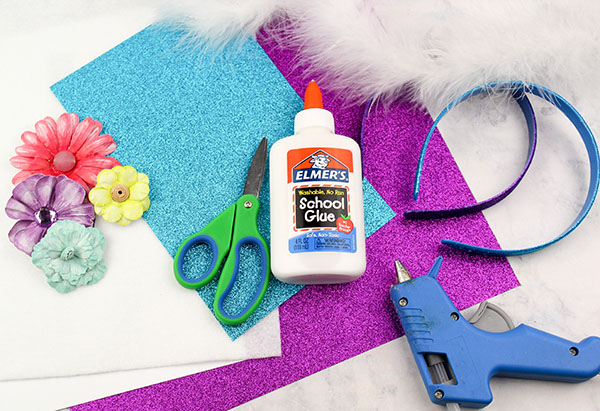
Supplies:
- White Cardstock

- Glitter Cardstock
- White Felt
- Headband
- Flower Embellishments
- White Marabou Feathers
- Hot Glue Gun
- Scissors


Instructions:
Download and print out the bunny ears template. Cut the template out.
See also: Paper Plate Footprint Bunny Craft
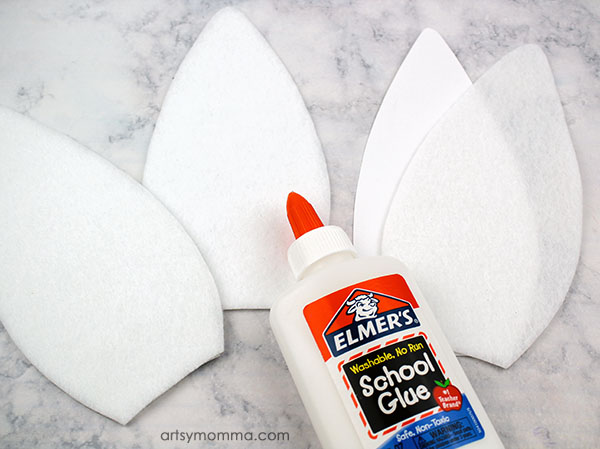
Trace the ear template onto white felt and white cardstock. Do this two times making sure to flip it over for the second ear. Cut the bunny ears out.
Glue the white felt onto the white cardstock.
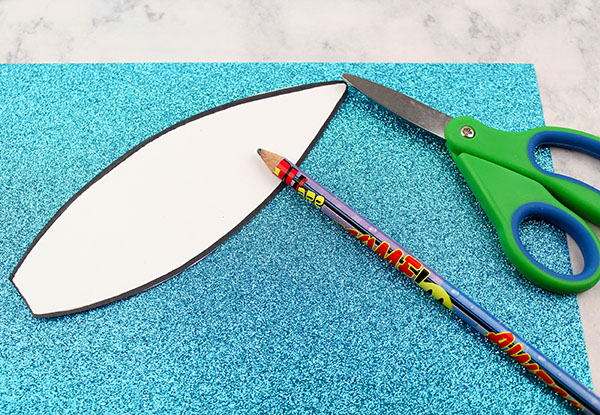
Cut out the inner piece of the ear template and trace onto the glitter cardstock.

Do this two times, then cut the inner ear shapes out.
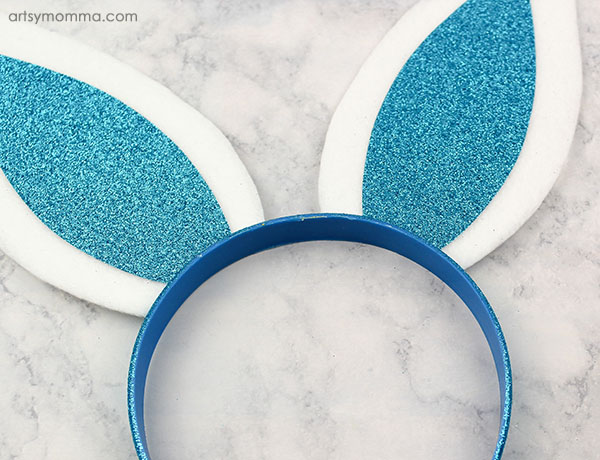
Next, glue the ears onto the headband. Leave about an 1 inch of space between the two ears.
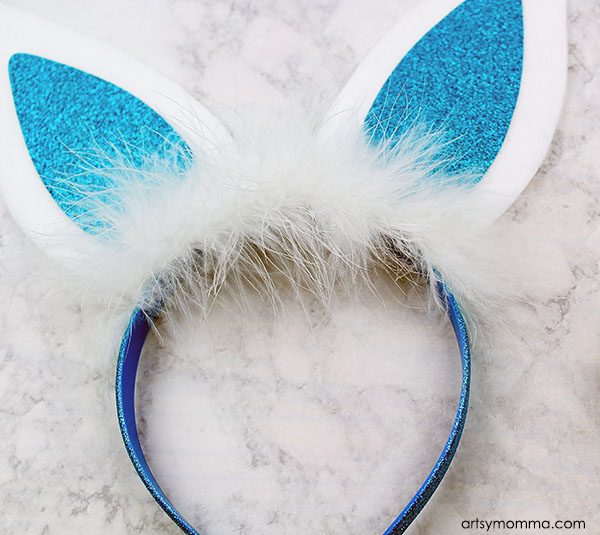
Cut a strip of the fluffy marabou feathers and glue this to the front of the headband. My daughter loves playing with marabou feathers! I am forever finding little pieces flying in the air when I bring them out for a craft. Check out the adorable black cat tutu costume I made for her when she was 10 months old using black marabou feathers.
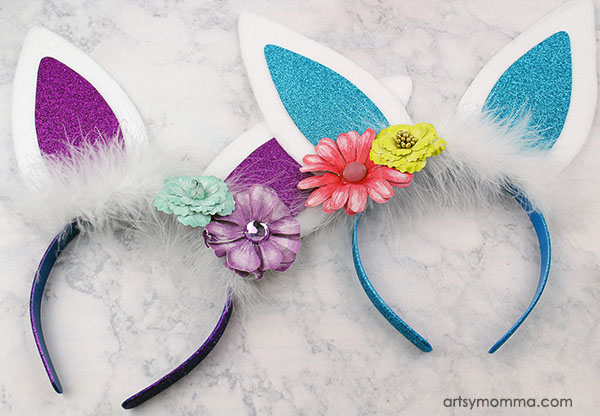
Glue Spring colored flowers on top of the fluffy feathers using a hot glue gun. The flowers can often be found in the scrapbook aisle at stores like Walmart.


To make a version of these headbands that are more boyish, you could always opt for plain cardstock instead of glitter and leave off the feathers.