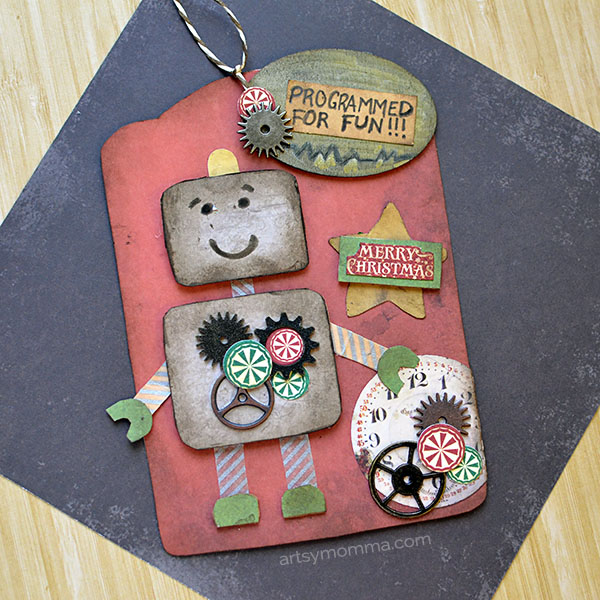
DIY Robot Gift Tag for Christmas
Are you ready to start wrapping Christmas presents? Today’s tutorial is a robot gift tag, perfect for bigger gifts (and somewhat smaller).
*We receive products and compensation as part of being on the design team. We also use Amazon affiliate links. For more info, please read our full disclosure policy here. This week, the Xyron Design Team is partnering with Tim Holtz for an entire week of fun projects.
Robot Gift Tag Christmas Tutorial
Supplies Used:
Tim Holtz Products
- Idea-ology Paper Stash 8×8 Collage

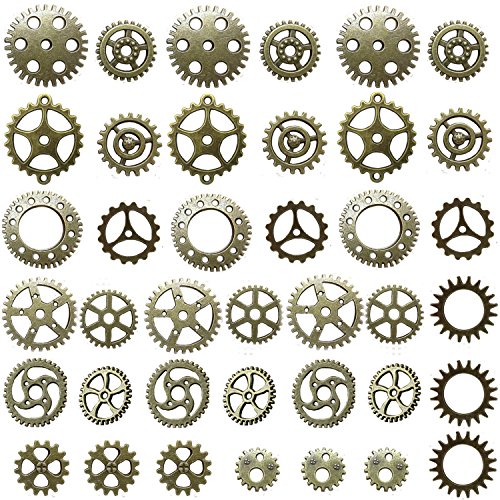
- Idea-ology Sprocket Gears
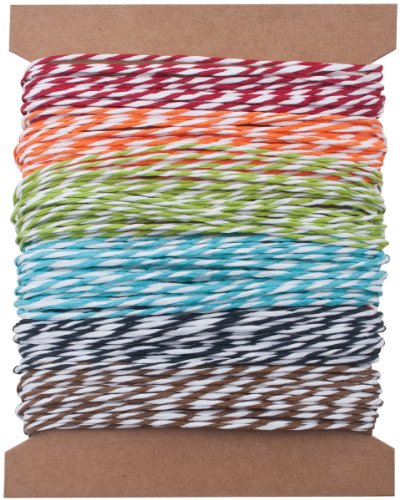
- Idea-ology Paper String Stripes
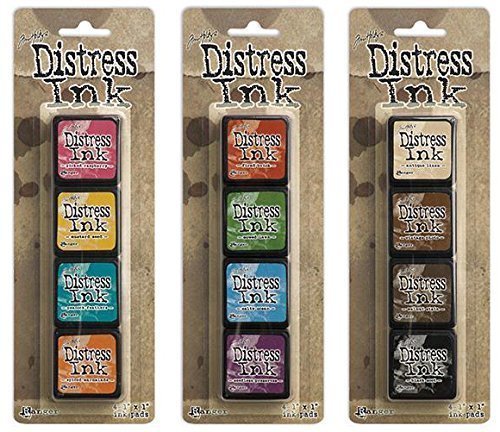
- Ground Espresso Distress Ink Pad
- Ground Espresso Distress Marker


Collage Mini Paper Stash by Tim Holtz Idea-ology, 36 Sheets, Double-Sided Cardstock, 8 x 8 Inches, Multicolored, TH93054 Miraclekoo Antique Bronze Steampunk Gears Crafting Charms Clock Watch Wheel Gear Pendant Charms ,39 PcsStripes Paper String by Tim Holtz Idea-ology, 5 Yards of Each Color, 6 Colors, TH93043Ranger Tim Holtz Distress Mini Ink Pad Kits #1, #2 and #3 BundleRanger Tim Holtz August Ground Espresso Distress Marker


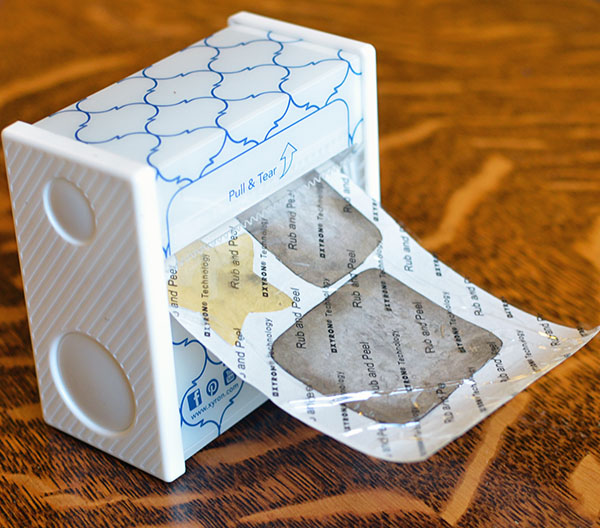
- Xyron 3” Sticker Maker and/or Creative Station Lite
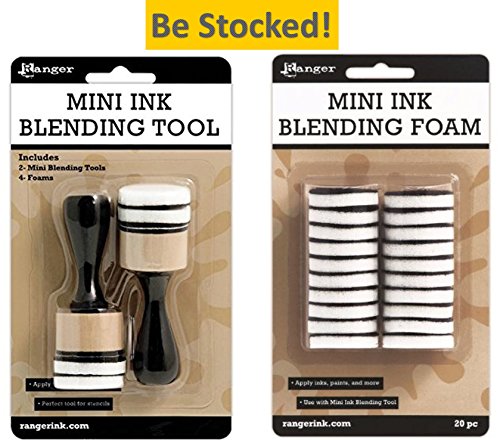
- Ink Blender
- Tag (or make one like we did)
- Cardboard
- Scissors
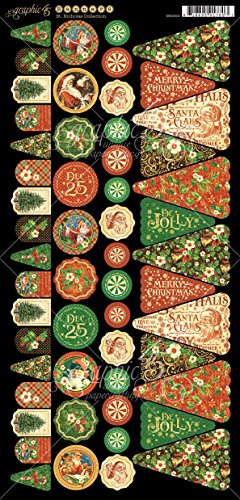
- Christmas Embellishments (Graphic 45 St Nicholas Collection)
- Wood Oval Tag
- Washi Tape
 and/or

 (or make one like we did)
How to make it:
Cut one small rectangle shape for the head and a larger one for the body.

Press the ink blender into the Distress Ink and lightly rub along the edges of the rectangles. Place the rectangles into the Xyron Sticker Maker. Flip over and rub the backing.
On a whim, I decided to stick these to cardboard so that they would add depth to the tag. Cut around the rectangles and run the attached cardboard pieces through the sticker maker again.
Place the jumbo gift tag onto one of the papers from the Idea-ology paper pack and trace it. Cut it out and adhere it to the gift tag. We used our Xyron Creative Station Lite for this part.
Stick the robot’s head on. Place a thin strip of washi tape to create the neck. Stick the body on. Add two small strips of washi tape for the legs. Make shoes for the robot using green paper (or another color), cardboard, and the Sticker Maker. Place at the end of the legs.
Make arms by placing the washi tape on a thin rectangle with U-shaped hands in green paper. Add a light on top of the head by making a colored paper sticker.
Mini Ink Blending Tool-1 Round (Mini Ink Blending Tool With Replacement Foams)Graphic 45 4501414 St Nicholas Die-Cut Cardstock BannersGraphic 45 Artist Trading Tags, KraftXyron Creative Station Lite (5 Inch with 3 Inch Option)Xyron Disposable/Recyclable Sticker Maker, 3-Inch


Embellishments:
The clock is from the Idea-ology Paper Stash and the star was cut from the same yellow paper as the light.
The ‘Merry Christmas’ and red and green candy pieces are from the Graphic 45 St Nicholas Collection. Turn them into stickers along with five of the gears. Stick all the embellishments in place, overlapping.
Write the phrase, “Programmed for Fun!” using the Distress Marker. Also add facial features on the robot with the marker. Then adhere the cute robot saying to the oval, lightly ink the edges with the blender.
Next, place the oval through the sticker Maker. Align it with the tag hole and press down. Add embellishments on top of this.
Finish by threading a piece of the striped string through the hole and tying a knot.
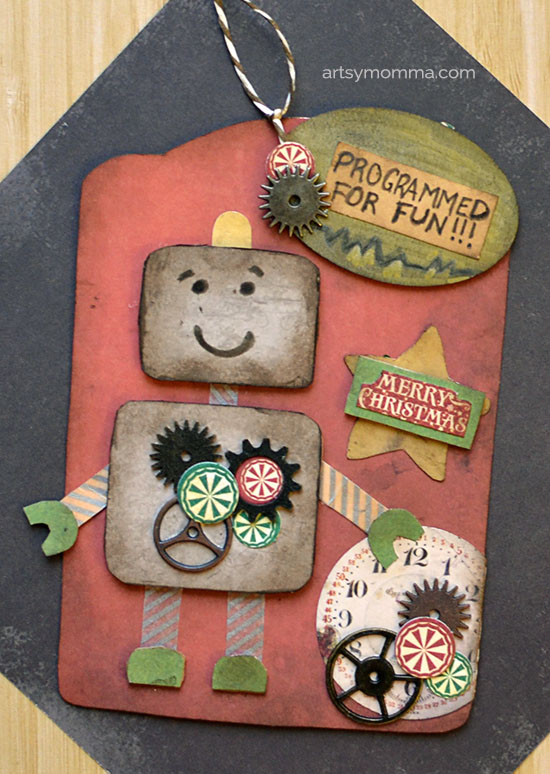
Now it’s ready to be added to a present for a child as a festive, unique gift wrapping idea. Thanks for joining us for today’s robot gift tag Christmas tutorial!
Stop by Xyron and Tim Holtz on Facebook for more crafty fun! See our adorable mini holiday gift bags here for another handmade gift wrap idea.