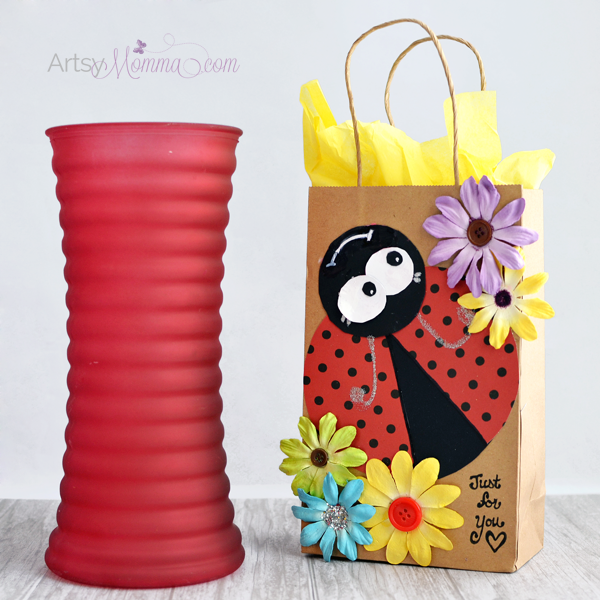
Cutesy DIY Ladybug Gift Bag Tutorial
Know a little girl who adores ladybugs? Make her a handmade ladybug gift bag for her birthday or just because! You will love how simple this craft tutorial is and she’ll love how cute it is.
How to make the DIY Ladybug Gift Bag
*This post contains Amazon affiliate links to the products mentioned. We also are a part of the Xyron® Design Team. Please read our full disclosure policy here.
Supplies Needed:
- Xyron® Creative Station Lite

- 5-inch Permanent Adhesive Cartridge
- Paper Gift Bag
- Cardstock/Scrapbook Paper
- Scissors
- Glue
- Fun Chalk Markers – optional
- Flower Embellishments
- Buttons
- Glitter Glue


 – optional


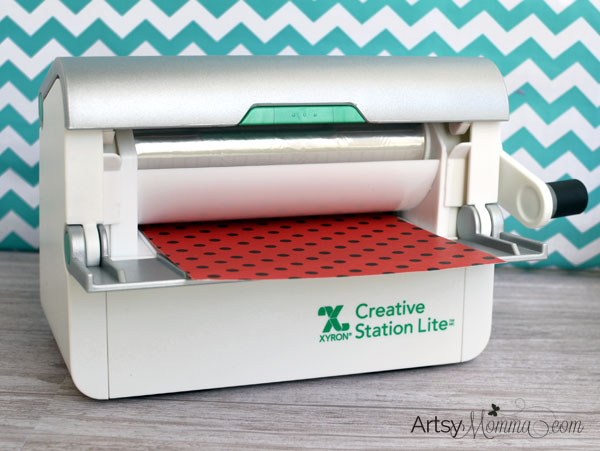
For this project, we are using the new Xyron® Creative Station Lite which will be making its World Launch on HSN March 16th. I love it! It’s so light and perfect for my crafting needs. It can be used with both 3-inch and 5-inch cartridges for adding adhesive, magnet or lamination to projects.
For this craft, I cut a red with black polka dots scrapbook paper to 5 x 12 inches. Insert it in the Creative Station Lite using the tray to guide you. Turn the handle to push it through. Now you have a jumbo paper sticker!
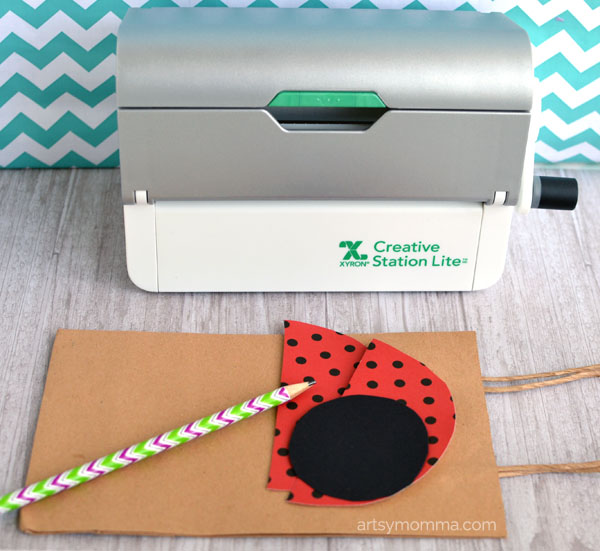
Pull off the plastic on the top. Trace a cd/dvd or similar round item on the back side, then cut it out. Cut the circle in half to create ladybug wings.
Repeat this process with black cardstock except for the cutting in half part. Make the same size circle as well as a smaller one for the head.
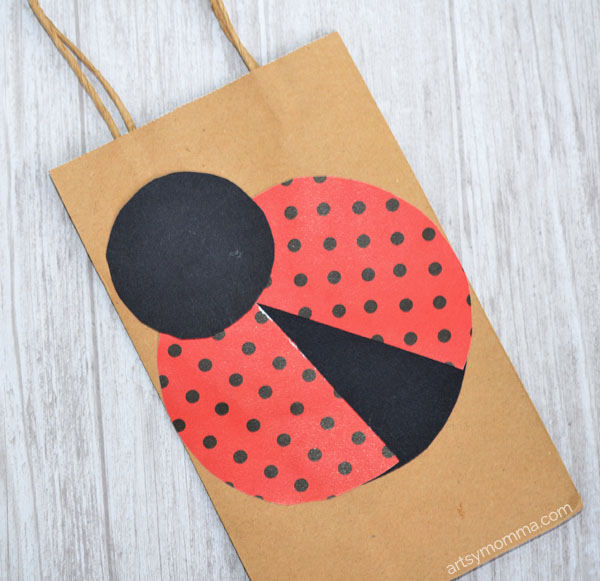
Place all your homemade stickers on to the front of your paper gift bag – bigger black circle first, then the two wings spread apart, and add the head to the top slightly overlapping a bit.
Easy peasy, right? I am loving making my own stickers!
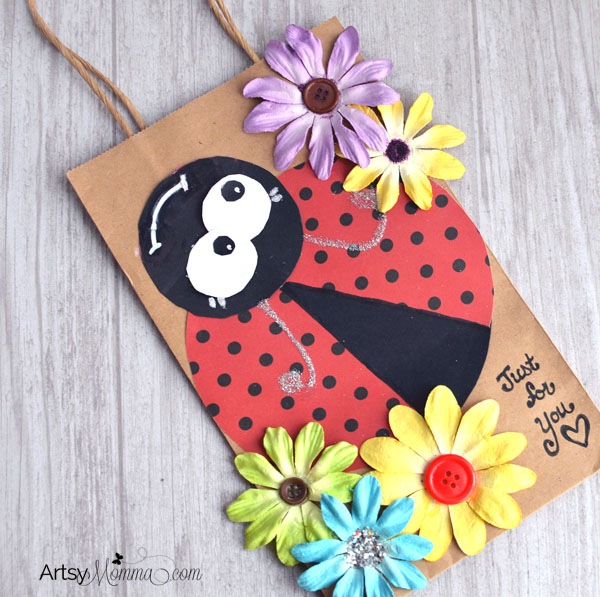
Cut two small circles from white cardstock to use for the eyes. Place them on the smaller black circle. Take a piece of the leftover black sticker you made and cut two teeny black circles to place inside the white circle.
Use a white Fun Chalk Marker or white paint to draw on eyelashes and a mouth. Use glitter glue to make the antennae. Write “Just for You” in the corner (or wherever/whatever you’d like).
Glue on flower embellishments and buttons. I also used glitter glue in the center of a couple flowers. That’s it!
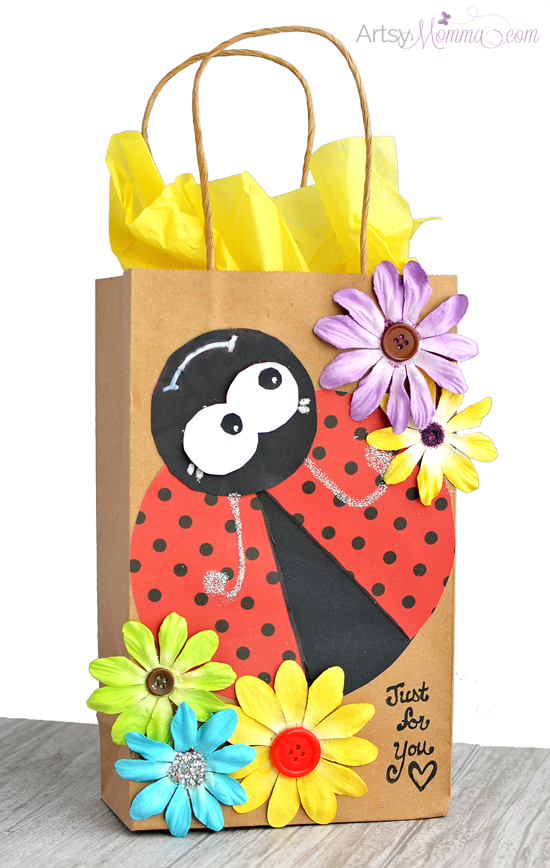
Now you have an adorable ladybug gift bag handmade by you! Add a small gift with tissue paper to give to a friend, mom, neighbor or use as a party favor bag.