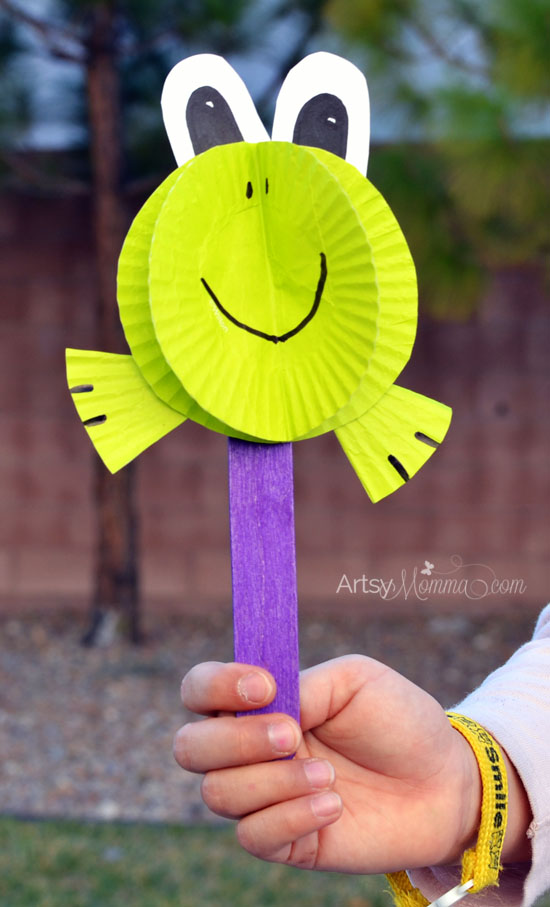
Darling Cupcake Liner Frog Puppet Tutorial
Hi guys! I am excited to announce that I am part of the 2016 Xyron® Design Team…Woohoo! If you aren’t familiar with their products, they are well known for their adhesive and lamination tools. The first project I am sharing with you is a super cute cupcake liner frog puppet made using the all new Xyron® Creative Station.

It’s easy to make and can be adapted to any animal puppet you’d like to make (here’s a fave by one of my blogging friends – it’s so stinkin’ cute!). While I mostly blog about kids crafts, it has been my intention to share more of my artsy party ideas and mommy DIY. This will give me the much needed push…yay!
*This post contains Amazon affiliate links to the products listed. Please read our full disclosure policy here.
Before I share the frog puppet tutorial with you, I’d like to share a little more about the awesome Xyron® Creative Station. It’s a cordless, no-heat needed laminator as well as an innovative way to apply adhesive to your projects. You can glue things like paper, fabric, felt and more….so cool! I love that it completely covers the area and no worries about glue squeezing out from the sides. It’s like being able to make your own jumbo sticker of whatever you’d like.
It can also be used to make magnets – super excited to create magnet toys for the kids and other fun ideas!

How to make the Cupcake Liner Frog Puppet
Supplies Needed:
- green cupcake liners

- white cardstock
- tongue depressor (jumbo craft stick)
- Xyron® Creative Station
- Xyron® Tape Runner
- scissors
- black marker


 (jumbo craft stick)
1. Start by placing 2 cupcake liners with the colored side up in the Xyron Creative Station tray. Turn the handle until they go completely inside and add 2 more cupcake liners to the tray. Do this again with another 2 (you only need 5, so I threw on a pink one for a different project). Use the trimmer to cut the sheet.
2. Pull off the clear film. as you can see in the photo, if you pull it back a little you can see how the adhesive sticks to the bottom.

3. Peel off two of the cupcake liners. Place one with the colored side down.
4. Take the 2nd liner and fold it in half with the colored sides together. Place this down on top of the 1st liner so it covers one half. (See top-left in the collage photo). You will now have a half of a sticky side facing up.
5. Peel off another liner and fold in half with the colored sides together. Match one sticky half to the sticky half from the previous step. Repeat this process with a 4th cupcake liner. It will start to look like the other top two photos in the collage.
6. Now that all 4 are together, secure the sticky half of the 4th liner to the very 1st one that you placed with the colored side down.
7. This next part is optional – I wanted to make my finished circle smaller with none of the white showing, so I cut it a bit.

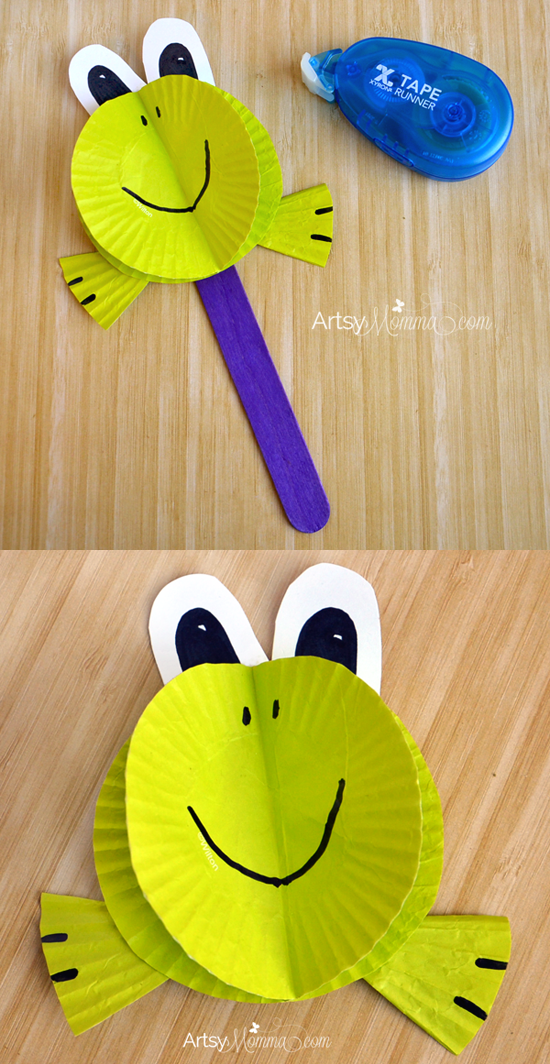
8. Take your 5th cupcake liner and fold it in half, sticky side together. Fold in half again. Take one of those sections (place the other one off to the side) and cut in half one last time. Glue these onto the back side to create frog feet. We used our Xyron Tape Runner – love that it’s mess-free!
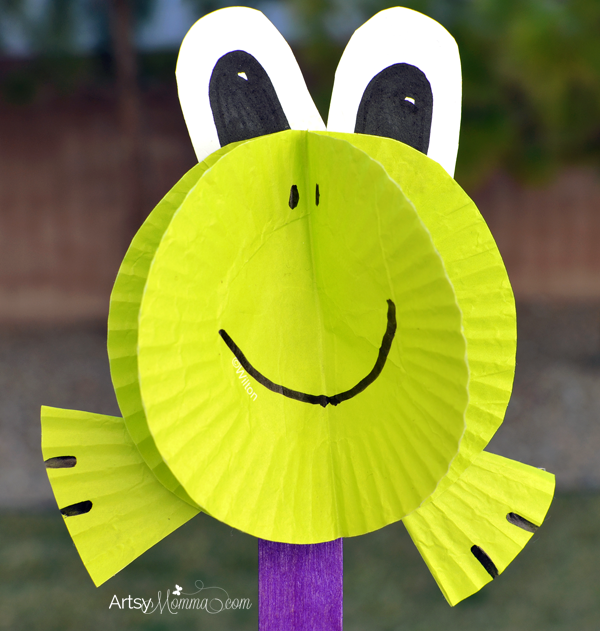
9. Cut 2 eye shapes from white cardstock. Add the black parts of the eyes with marker. Glue to the top on the back of the frog.
10. Draw on nostrils, webbed feet and a mouth.
Isn’t it the cutest? You can either leave it like this to be used on a card, gift bag, etc. or make a puppet like we did! To turn it into a puppet, all you have to do is add a jumbo craft stick or similar.
This adorable cupcake liner frog puppet is perfect for a Leap Year activity! Check out our cd frog handprint craft for another fun idea.
You can find more craft ideas or share your own on the Xyron Facebook page ….. hope to ‘see you’ there!
This is soooo adorable!! Such a fun idea for leap year!
Thanks Rachel!