Spooky Cute Halloween Books made from Cereal Boxes!
This is a sponsored post written by me on behalf of Huggies®. As always, all opinions are my own. You can read more about our disclosure policy here.
Now that fall is officially here, it’s time to start thinking about Halloween. We love Halloween around here! Today, we are sharing a spooky cute DIY Halloween books tutorial made from cereal boxes. The kids can use them for many different things including writing their own Halloween stories, as an art book, journal, mini scrapbook, and so on. Regardless, they will all turn out into creative Halloween books for kids that make awesome keepsakes!
You can see other ways we had messy, clean crafting time together by reading our recycled jar tissue paper lanterns and DIY stamped shirts posts.
DIY Halloween Books for Kids
Supplies Used:
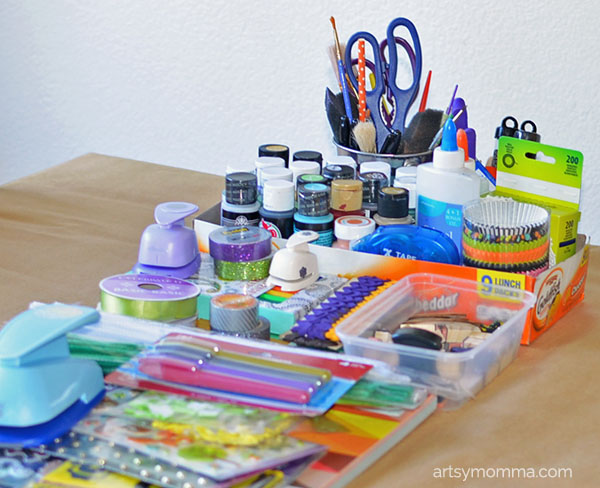
Main
- paint
- paintbrushes
- ink pads
- scissors
- glue
- cardstock
- permanent black marker
- empty cereal boxes
- Huggies® Wipes
Optional Embellishment Ideas
- mini alphabet stamps
- sponges (cut into small pieces)
- stickers (Halloween-themed, gems, and alphabet)
- glitter washi tape – purple, green, and silver
- glitter or glitter glue
- cupcake liners – white and a Halloween Multi-pack
- googly eyes
- craft foam
- circle punches
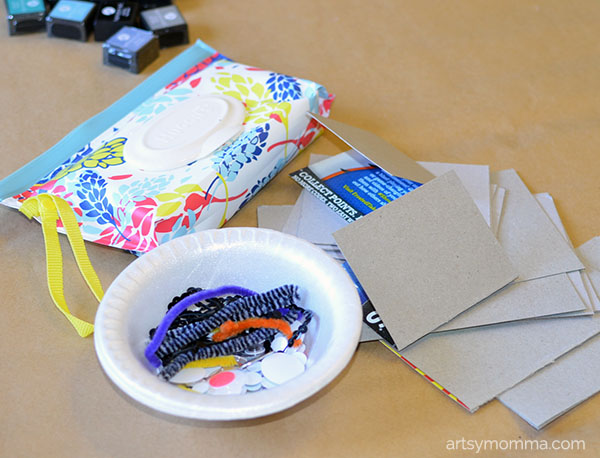
Prep:
Cut the empty cereal boxes into different rectangle sizes. You may even wish to fold some of these in half like a book.
Instructions for Halloween Book Crafts:
Decorate the cardboard however you’d like.
Keep Huggies® Clutch ‘N’ Clean Wipes nearby or hang it from your wrist using the holder that’s attached. I like to give each kid that’s crafting their own wipe right away. That way, they have it right there when needed. I find that when painting with the kids, it gets everywhere. This way, if there are any accidentally spills or drips, you can quickly and easily wipe it off.
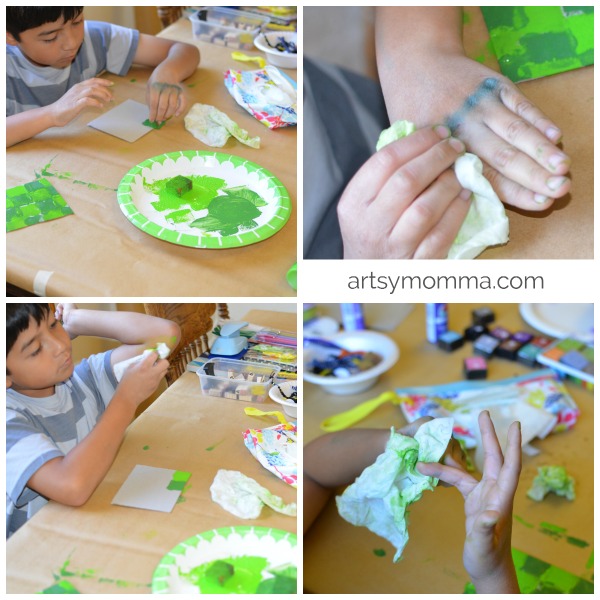
The Huggies® Wipes are also convenient for the paint that tends to get all over fingers and even on the arms. Kids will definitely keep the mess to a minimum because they can quickly wipe it off instead of getting it everywhere when they touch things.
Below, you will find the Halloween Cereal Box Crafts that we made and a brief explanation of how we made it.
Spooky Cute Book Tutorials
Bat Flying Over the Moon
Up 1st is Big Brother’s projects. The background is made by alternating purple and orange paint using cut-up sponge pieces (just drag it across). Next, he glued in a white cupcake liner to create the moon.
To create the bat, he traced a small wooden bat onto black craft foam and then cut it out. A bat cookie cutter would be another way to make it or, of course, freehand drawing it. The eyes and fangs are drawn on with a white marker. White paint would also work. The bat was glued over the moon.
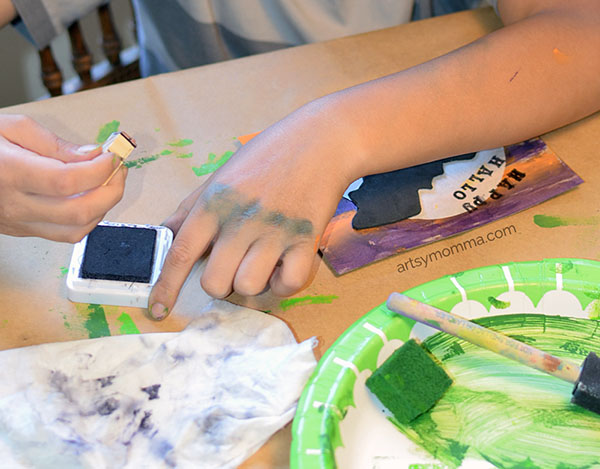
He used a black ink pad and the mini letter stamps to write, “Happy Halloween!” The ink dries somewhat fast, so I always have the kids (or myself) have a wipe ready to clean the leftover ink off and then wash them with water later.
Mini Cupcake Liner Ghosts
For this, cut a white cupcake into sections like you would a pizza or pie. Big Brother drew eyes and a mouth on each to create the ghosts.
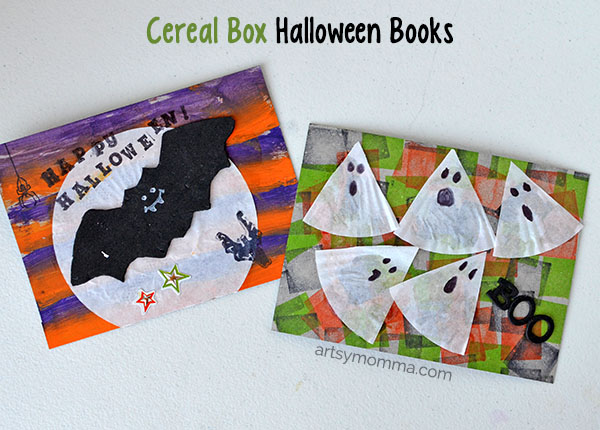
The background was made by randomly stamping 3 different small square ink pads onto the cardboard. Then, just glue the teeny ghosts on and add anything else you’d like.
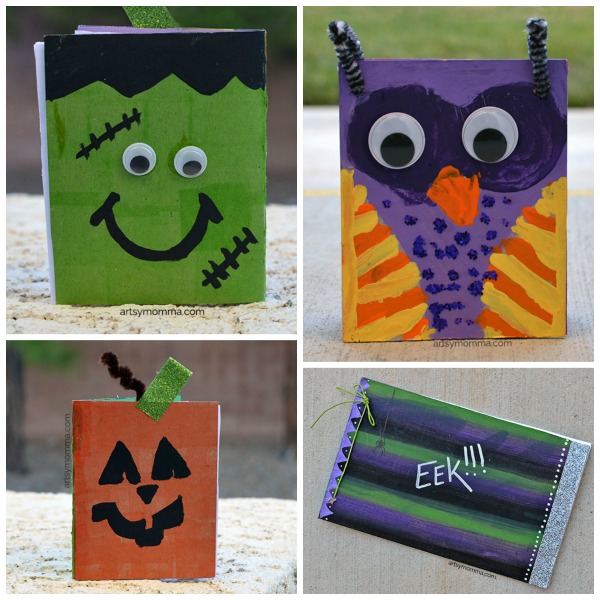
Mini Cereal Box Owl
Little Sister wanted an owl, so I sketched the basic design for her (which she said looked like a penguin, hehe). She chose Halloween colors and then painted it to look like her owl bookmark, hence the striped wings.
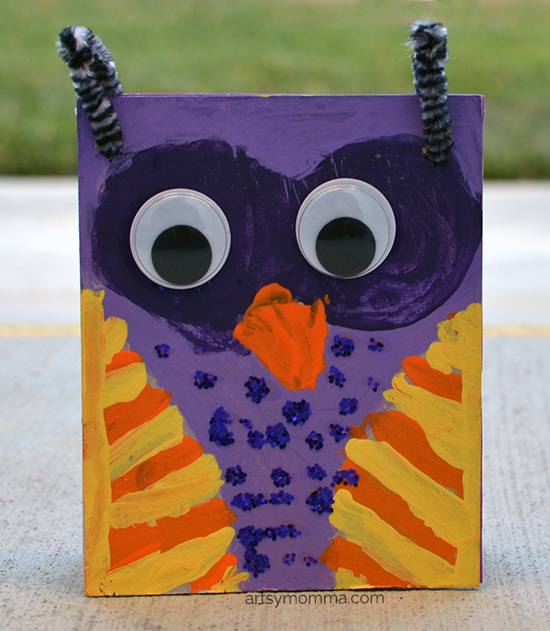
Once dry, she glued on jumbo googly eyes. She finished by making small dots of glue on the owl’s belly area and then sprinkled purple glitter over it.
Cardboard Jack-o-lantern Book
Little Sister also made a jack-o-lantern, which she gave eyebrows to and then giggled for a few minutes about how funny she thought that was.
As an open-ended art project, she made this:

DIY Ghost Book
The background is made by dragging mini ink pads across the cardboard. Once dry, we traced around a small wooden ghost to make a ghost outline for her to paint.

Frightfully Colorful Halloween Memories Book
Made with: cupcake liners, circle punches, Halloween stickers and gems.
Add photos, doodles, and other mementos like a mini scrapbook.

Sparkly Skeleton Notebook
The cover is made with mini ink pads and glitter washi tape. It’s embellished with funky skeleton stickers. Perfect for writing notes, quotes, or even to do lists (she is always making to do lists, LOL).

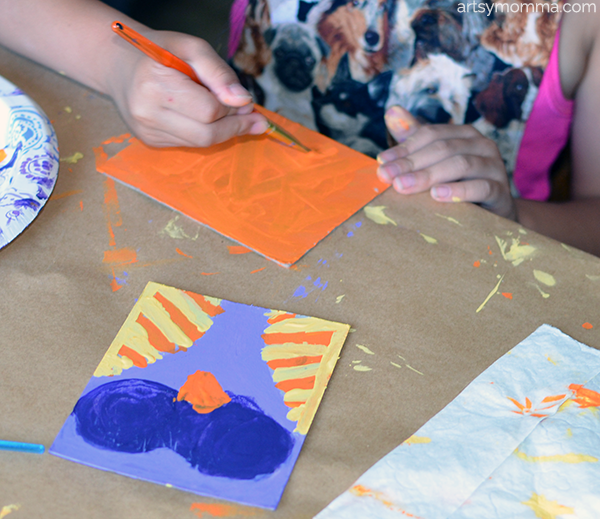
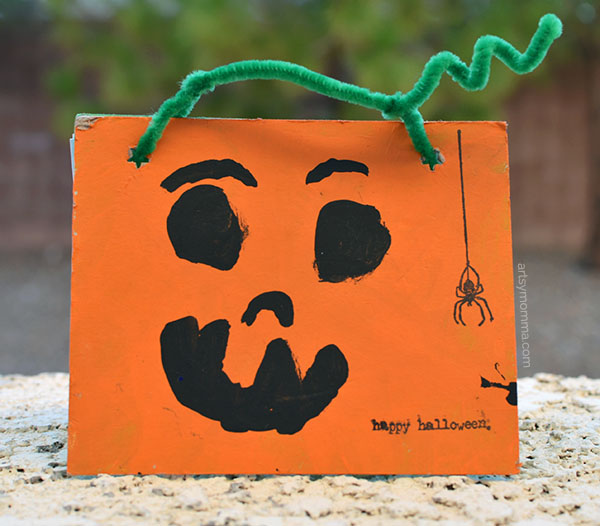
Pumpkin and Frankenstein Itty Bitty Book
Of course, I joined in on the fun too! I made both the orange and green backgrounds by stamping them with the ink pads, overlapping the squares.

The faces are drawn on with black paint.

The jack-o-lantern’s stem is a pipe cleaner held in place by a piece of green glitter washi tape folded in half to represent a leaf.
Glitter Washi Tape Itty Bitty Book
All you have to do is alternate tape colors and cut off any overhang. I love this glitter tape and am always looking for an excuse to buy more!

Spooky Spider Sketch Pad
Background made by dragging the purple, green, and black paint across the cardboard. Place all three colors in a row on a sponge.
Other items use: spider stamp, Trick or Treat stamp, glitter washi tape and metallic markers.

Putting Together your DIY Halloween Books for Kids:
Place the decorated cover on colored or patterned cardstock. Cut 2 pieces, using the cover as a guideline. Glue one to the inside cover and use the other as a back cover.

Make the pages using any kind of plain paper (i.e. cardstock, computer paper, construction paper). Cut these the same size as the covers. This is quickest when using a paper cutter. Place the pages inside the book.
There are several ways to attach the pages to the covers. You can staple it, use a hole puncher and string or a ring, or use one of the popular book binding methods. My son likes to make accordion books.

Now they are ready to make a spooky cute Halloween story or use it to draw pictures and write notes. These crafty cereal box Halloween books would make a great playgroup activity. Just pre-cut everything beforehand so it’s ready to go!
Head over to Huggies® to see more ways to have messy, clean fun! You can also join in the Huggies® Sweepstakes by sharing ways you #HugTheMess.
And don’t forget to follow Huggies® on Facebook, Twitter and Instagram!