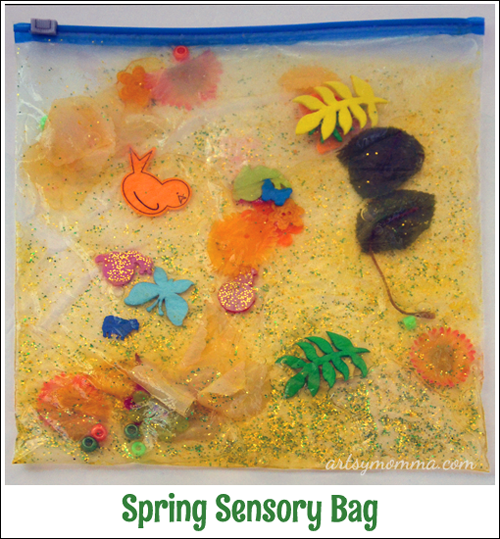
Spring Sensory Bag Play
Little Sister made a Spring sensory bag to play with and explore. It’s so cheerful-looking and filled with things that remind me of spring. It’s easy to make and takes about 15 minutes.
How to make a Spring sensory bag:
You will need a Ziploc bag (or similar); any size will work. Find items that fit with the theme or things that have colors that represent Spring.
Here’s what we added to ours:
- green and yellow glitter
- green and orange beads
- foam stickers – birds, butterflies, ladybugs, snails, lamb, plant/grass
- loose flowers and leaves – real or fake
Have the child place the items in the bag. Add water. I also added yellow food coloring to ours. You may want to add another bag over the top to catch any water that may leak out. Or you could duct tape the zipped part by placing the duct tape on one side and folding it over to the other side.
Little Sister had fun squishing all the little things. I even had her step on it with her bare feet which she enjoyed.
Big Brother and I made an ocean-themed sensory bag when he was younger. See what we added instead of water by clicking here.


I’ve never made a sensory bag but they do look fun!
They are a big hit with my little ones 🙂
We haven’t tried a sensory bag yet. I think we will have to try it! I love the touch of glitter too!
Thanks – we like to add glitter to whatever we can…LOL! Excited to see what you come up with 🙂
I found you at the Mommy Club and wanted to stop by and say that this looks like it would be fun to play with. I am thinking this would be a nice DIY gift for a few kids I adore.