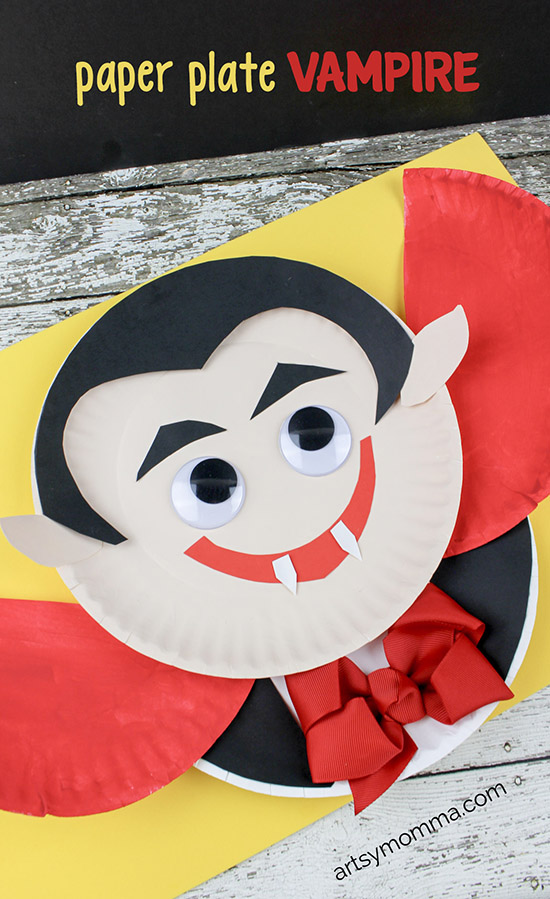
Darling Paper Plate Vampire Craft for Halloween
This is a darling paper plate vampire craft, so I named it just that! Isn’t is adorable? It was made with the simplest of materials and honestly, you can never go wrong with a paper plate craft. They are just so fun and easy to make. Most of all, kids love them! Take a look at how to make this fun craft for kids so you can make it at home, too. It makes a lovely, not-so-scary Halloween decoration.
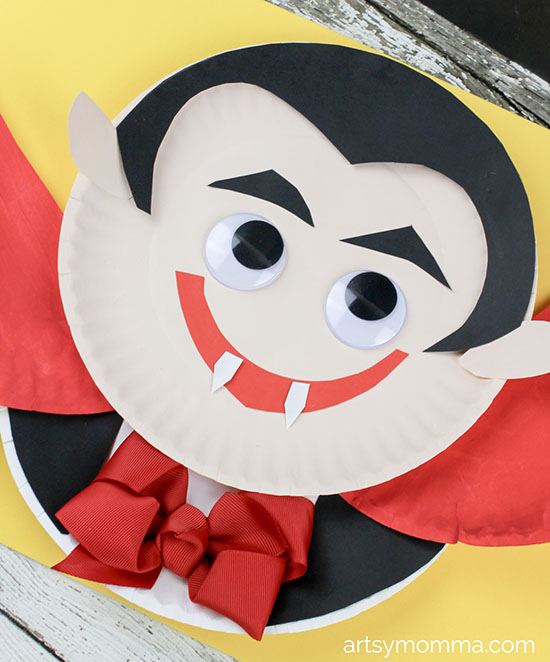
Darling Paper Plate Vampire Craft
Using paint can be messy, so set yourself up for success. Find an area at home that is easy to clean or simply use a plastic tablecloth or newspaper to work on. It will make cleaning a breeze and you (the designated after-crafts cleaner), will be more motivated to create more awesomeness with your kids if you can clean quickly and easily. So now that your creating area is ready to go, let’s get started!
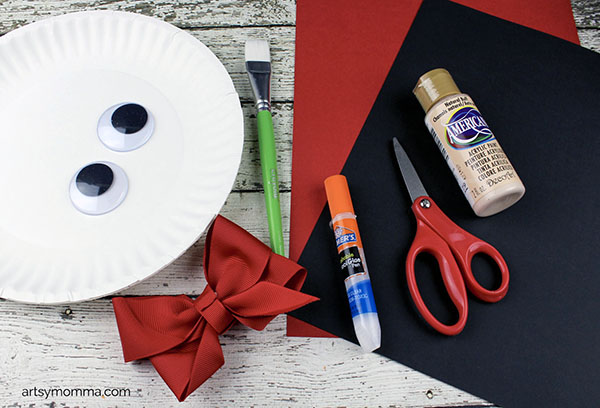
Supplies Used
- 3 paper plates
- construction paper, black, white, and red
- flesh colored paint
- red paint
- red bow
- scissors
- glue stick/pen
- 2 large googly eyes
- paintbrush
Instructions
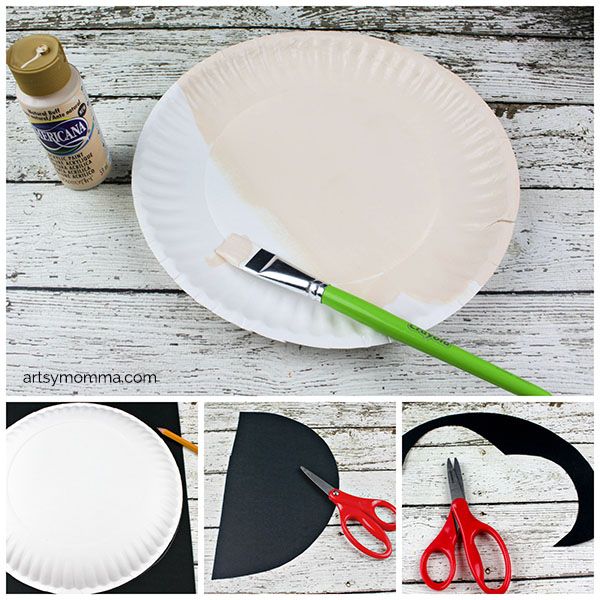
1. Paint one of the paper plates with flesh color and set aside to dry.
2. Cut another paper plate in half and paint both pieces red. Set aside to dry.
3. Cut the third paper plate in half. Set aside one of the half pieces for later use as the vampires’ shirt. Cut out 2 pointy ears from the remaining half and paint a flesh color. Set aside for later use.
4. Cut out the hair from the black paper. I traced along the diameter of a paper plate to be sure the hair fit perfectly on the plate.
5. Glue the hair onto the top of the dry flesh colored paper plate.
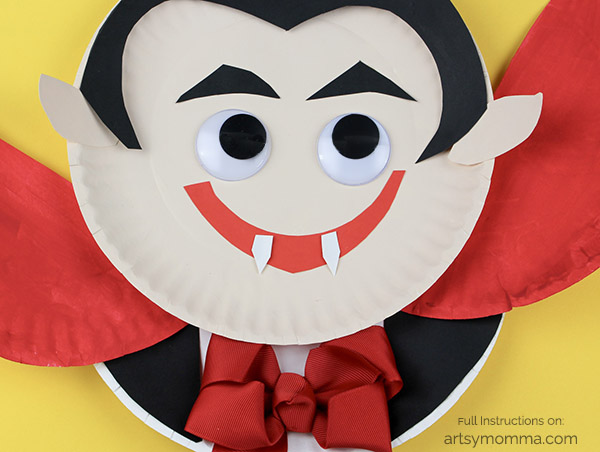
6. Apply glue to the back of the googly eyes and adhere them to the front of the face.
7. Cut out 2 long skinny eyebrows from the black paper. Glue above the eyes.

Almost Done…
8. Cut out a large mouth from the red paper and glue on the face.
9. From the half paper plate that you have cut the ears from, cut out 2 teeth. I used the ridges along the diameter of the paper plate as a guide. With your scissors turn the teeth into fangs by making a triangle at one of the ends of each piece. Glue each fang on the red mouth.
10. Glue an ear on both sides of the face, about halfway down the plate.
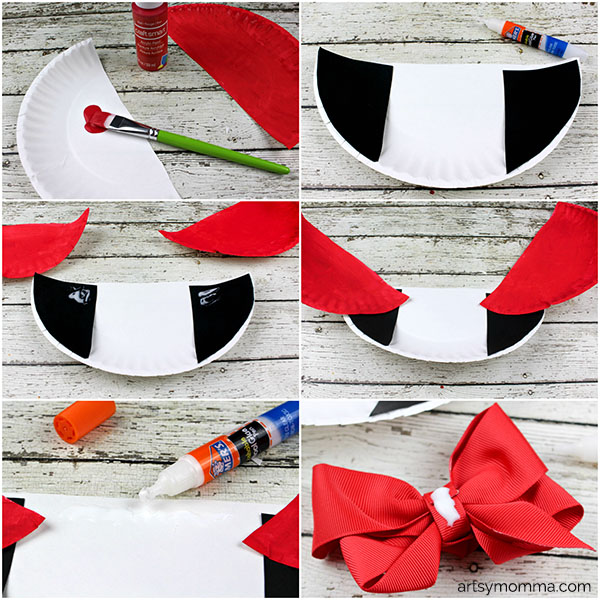
11. Cut out 2 half circles from black paper to place on the half plate that will be your vampires’ shirt. Glue a half circle at each end of the half plate.
12. Apply glue to the top ends of the shirt plate and place the painted red cape pieces on top of the glue. Press firmly for 15 seconds to allow the glue to adhere.
13. Generously apply glue to the top of the shirt plate (white part). Situate the vampire head at the top of the shirt plate. Press firmly for 15 minutes to allow the glue to adhere.
14. Generously apply glue to the back of your red bow and place it in the middle of the shirt plate. Allow to dry for 15 minutes.
We hope you enjoyed making this craft and that you will want to make more paper plate crafts with your kids regularly. Why don’t you get some ideas here? We have man to choose from! Simply go to our paper plate craft category and you will find an awesome list of cute paper plate craft ideas – from winter animals and sharks to mandalas and emoji masks.
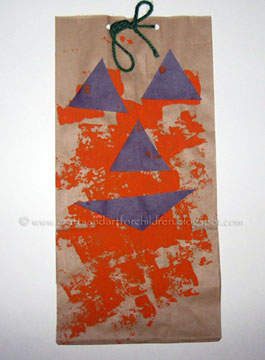
Check out our handprint vampire art project for another darling idea like this paper plate vampire craft!